
Learn / DaVinci Resolveupdated for DaVinci Resolve 21.1 (September 2026)
DaVinci Resolve Change Stereo Audio to Mono: 3 Ways
Quick answer
In DaVinci Resolve, change stereo audio to mono by right-clicking the source clip in the Media Pool, choosing Clip Attributes > Audio, setting Format to Mono, and choosing the correct embedded channel. If you need both left and right summed together, use Fairlight FX Stereo Fixer set to Mono or set Stereo Width to 0.
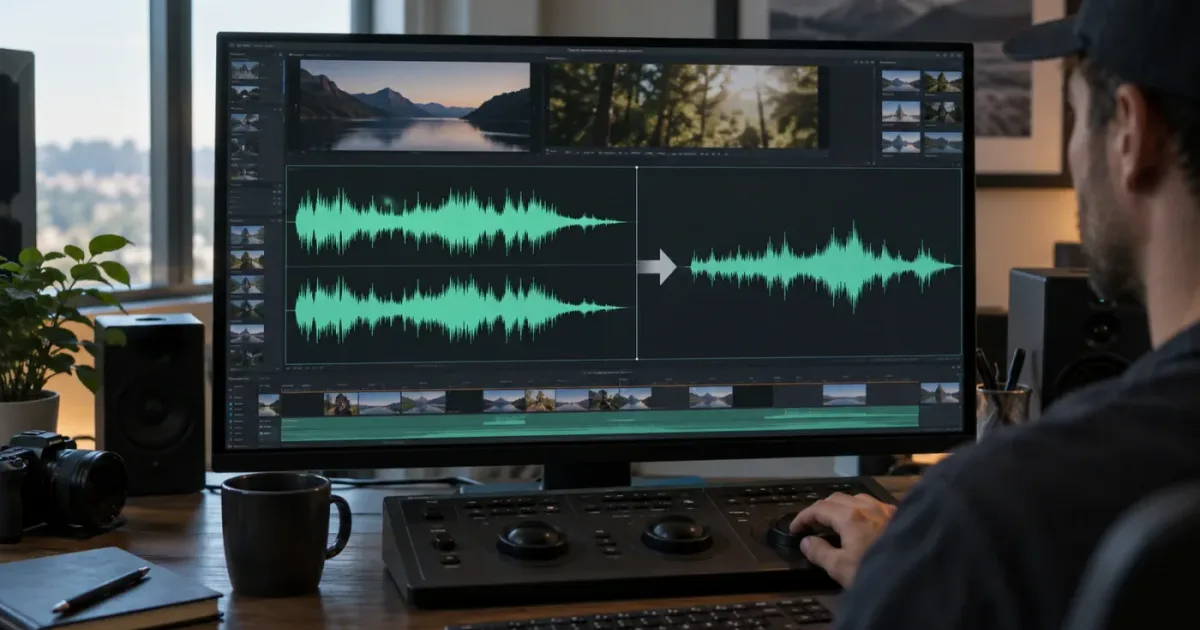
Stereo audio becomes a surprisingly small problem once you identify what you mean by "mono." I use one workflow when I want the left or right source channel, and another when I need a real left-plus-right sum. The wrong choice can make a microphone disappear or leave a voice stuck on one side.
As of September 2026, this guide follows the channel-mapping workflow in DaVinci Resolve 21 and the 21.1 update. Blackmagic's current product page lists DaVinci Resolve 21, while the current What's New page highlights 21.1. The menu names below are the important part, because the same distinction also applies to recent Resolve 20 projects. (sources: DaVinci Resolve 21 and What's New in DaVinci Resolve 21.1)
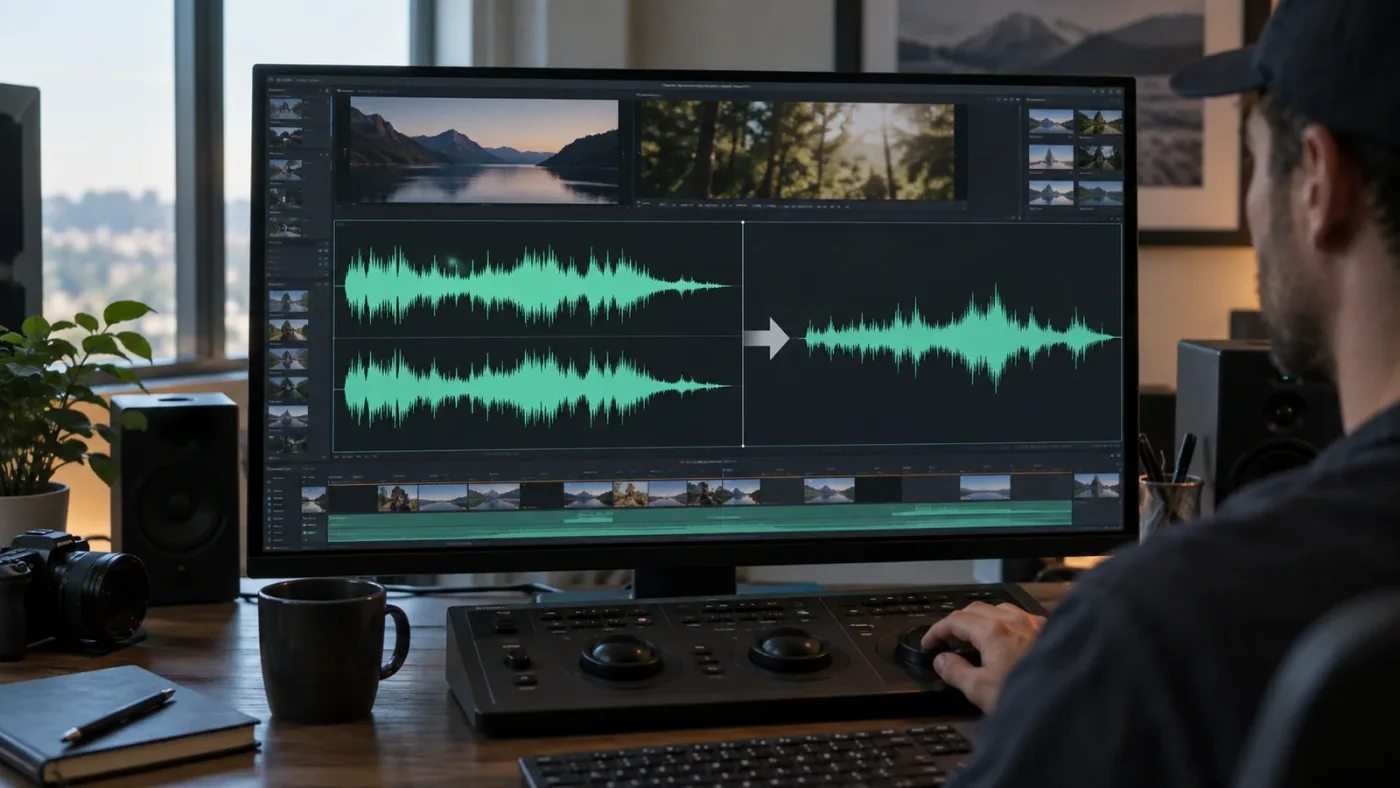
How do I change stereo audio to mono in DaVinci Resolve?
To change one stereo clip into one mono source in DaVinci Resolve, open Clip Attributes, choose the Audio tab, set the format to Mono, and select the embedded channel you want. Then match the timeline track to Mono if you want the result centered between the left and right speakers.
Stereo means two audio channels, normally left and right. Mono means one audio channel. Blackmagic's Fairlight training guide shows the practical consequence: a mono clip placed on a stereo track can play only in the left channel, while a mono clip on a mono track plays equally from both speakers. (The Fairlight Audio Guide to DaVinci Resolve 20)
Use this procedure when one embedded channel is the useful recording. It is common with camera files where a microphone was connected to only the left input, or with two-microphone recordings where you want to work on each person separately.
- Open the Media Pool and locate the original clip. If the clip is already in the timeline, right-click it and choose Find in Media Pool first, a workflow also documented in the Blackmagic Design forum.
- Right-click the clip in the Media Pool and choose Clip Attributes.
- Open the Audio tab.
- Set Format to Mono.
- In the source-channel selector, choose the useful embedded input, such as Embedded Channel 1 for the left source or Embedded Channel 2 for the right source.
- Click OK, then make sure the clip is on an audio track whose type is Mono.
The Clip Attributes change is a routing decision. It tells Resolve how to interpret the channels in the project. It does not rewrite the audio file on your drive. Blackmagic's Fairlight documentation describes clip and track channel mapping as something you can change at any time, with clip format available through Clip Attributes or the Inspector's File tab. (Blackmagic Design's Fairlight channel-mapping documentation)
If the clip is used in several places, changing its source attributes can affect every use of that source clip. That is useful for a camera card full of clips recorded with the same input mistake, but it is worth checking before you change a long edit. If only one timeline instance needs a different treatment, use a track-level or clip-level Fairlight effect instead.
DaVinci Resolve changes stereo audio to mono by channel mapping, track routing, or a downmix, and those are three different operations.
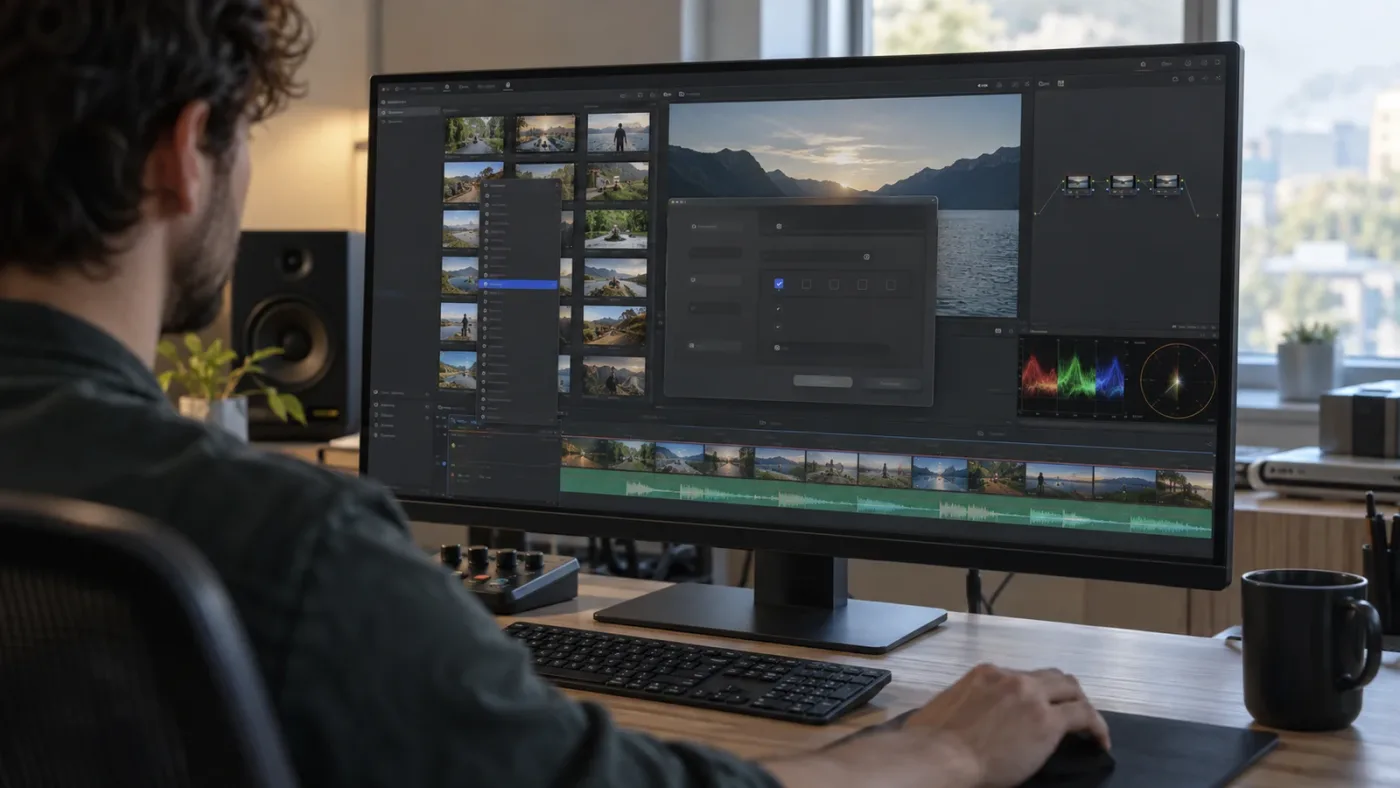
Should I use Clip Attributes or Change Track Type To Mono?
Use Clip Attributes when you need to choose which source channel Resolve should use. Use Change Track Type To Mono when the clip is already mapped correctly but the timeline track is making a mono signal behave like a one-sided stereo signal.
The two controls live at different levels. Clip Attributes changes how the source clip exposes its channels. Change Track Type To Mono changes the timeline track's channel configuration. Blackmagic's Fairlight guide tells you to right-click a track header and choose Change Track Type To > Mono, then identifies the resulting track with a 1.0 channel indicator. (The Fairlight Audio Guide to DaVinci Resolve 20)
Use this decision table before you click anything:
| What you actually want | Best control | What the control does | What it does not do |
|---|---|---|---|
| Use only the left mic | Clip Attributes, Mono, Embedded Channel 1 | Routes the left source as one mono channel | It does not combine the right source into it |
| Use only the right mic | Clip Attributes, Mono, Embedded Channel 2 | Routes the right source as one mono channel | It does not repair a silent or damaged recording |
| Center a mono clip that is loud on the left | Track header, Change Track Type To > Mono | Gives the clip a one-channel mono track | It does not sum two different stereo channels |
| Keep both L and R audible in one mono result | Fairlight FX Stereo Fixer set to Mono | Collapses the stereo input to a mono output | It is not the same as choosing one source channel |
| Keep two microphones independent | Clip Attributes, Mono, two tracks | Exposes each embedded source as its own mono track | It does not automatically balance the two people |
| Deliver one-channel audio | Fairlight bus and Deliver Audio Settings | Controls the channel format of the rendered output | It does not replace a mix decision inside the timeline |
The most common beginner mistake is to read the word Mono and assume that Resolve must be combining left and right. Clip Attributes set to Mono can instead expose one selected source channel. That is exactly what you want for a single microphone on a left or right input, but it is not what you want when both sides contain different musical content that must survive.
Clip Attributes selects source channels; Change Track Type To Mono controls the timeline channel layout.
The Fairlight page supports both single multichannel tracks and separate mono tracks. Blackmagic specifically describes track format changes from the track header and clip format changes through Clip Attributes, so the choice is part of the intended Resolve workflow rather than a workaround. (Blackmagic Design Fairlight channel mapping)
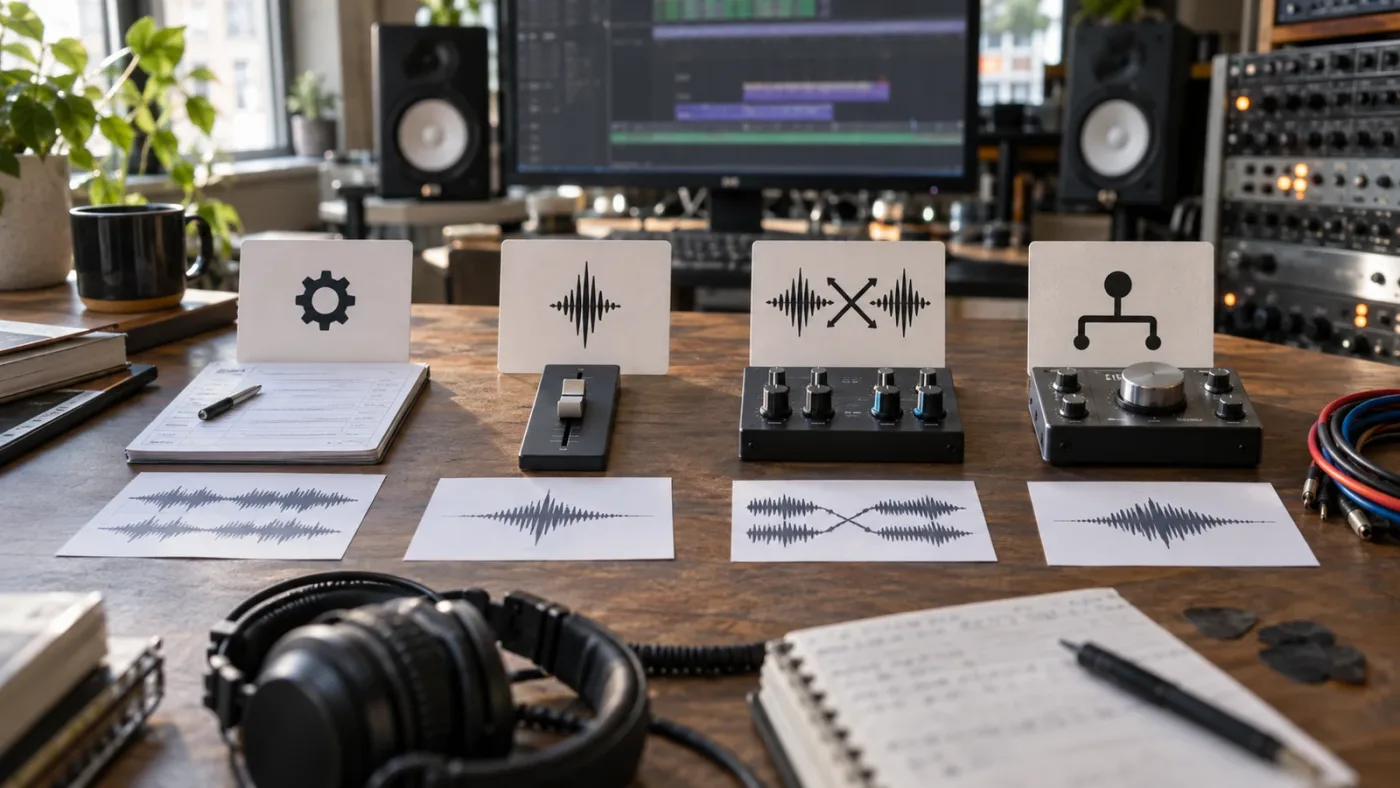
How do I keep both left and right channels when changing stereo audio to mono?
To keep both left and right channels in a single mono result, use a downmix control rather than selecting only one embedded source channel. In Fairlight, apply Stereo Fixer to the clip or track and choose Mono, or use Stereo Width and set its width to the mono position.
This is the right path for a stereo music file, a stereo ambience recording, or any clip where left and right contain complementary information. The Fairlight Stereo Fixer can also isolate left or right, but its Mono setting is the one to try when you want both inputs represented in the output. Blackmagic's official forum documents the effect as a way to control independent channels in a stereo track and lists Mono, Left Only, Right Only, and other output formats. (Blackmagic Design forum explanation of Stereo Fixer)
Here is the clip-level workflow:
- Open the Fairlight page, or stay on the Edit page if the Audio effects browser is visible.
- Open the Effects Library and select the Audio category.
- Find Fairlight FX and drag Stereo Fixer onto the audio clip or its track.
- Open the effect controls in the Inspector or Mixer.
- Choose the Mono output format.
- Play the clip and watch both input and output meters. Listen for missing material, overload, or a change in level.
The second option is Stereo Width. Blackmagic's Fairlight training material describes the Width control as moving from mono to wide, with the far-left position representing mono. (Blackmagic Design's Fairlight Audio Guide, Stereo Width exercise)
An official Blackmagic forum answer by editor Andy Mees puts the choice plainly:
"Two simple options: Fairlight FX > Stereo Fixer set to Mono, or Fairlight FX > Stereo Width set to 0."
That quote is useful because it separates a real downmix from the tempting but incomplete Clip Attributes shortcut. (Andy Mees on converting stereo audio to mono)
Do not assume that a downmix is always the best sounding choice. If the left and right channels came from two separate microphones, summing them can create phase or comb-filtering problems. A Blackmagic forum discussion recommends selecting the preferred embedded source channel for separate microphones instead of summing them blindly. (Jim Simon on stereo-to-mono channel mapping)
A stereo-to-mono downmix preserves both input channels, while Clip Attributes Mono can select only one.
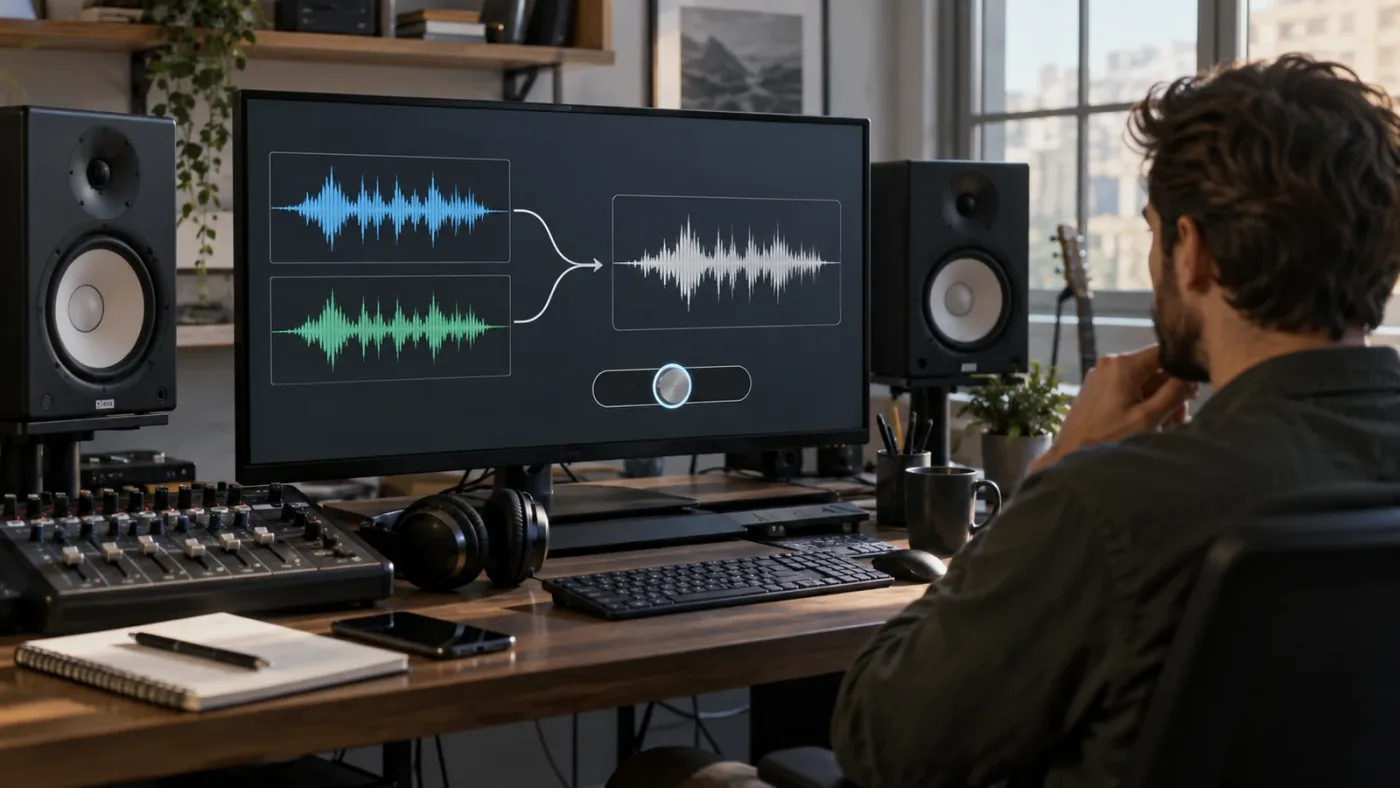
Why does DaVinci Resolve play mono audio only from the left speaker?
DaVinci Resolve often plays a mono clip from the left speaker when the clip is on a stereo track and the channel mapping occupies the left side. Change the audio track itself to Mono, then check the clip's source-channel mapping if the wrong microphone is still selected.
Start with the track header, not the panner. The Fairlight guide says that a mono clip in a stereo track can play in only the left channel or left speaker, while a mono clip in a mono track produces equal sound from both speakers. (The Fairlight Audio Guide to DaVinci Resolve 20)
- Find the audio track containing the clip.
- Right-click the track header, where the track name and controls sit.
- Choose Change Track Type To.
- Choose Mono.
- Play the clip again and listen in headphones or on two speakers.
- If the voice is still missing, open Clip Attributes and audition Embedded Channel 1 and Embedded Channel 2 separately.
The 1.0 and 2.0 indicators in Fairlight are useful clues. A 1.0 track has one mono channel. A 2.0 track has two channels, normally left and right. If the clip's visible waveform and the track indicator disagree, fix the track or clip mapping before adding more processing. The mismatch can affect playback, panning, and mixing. (The Fairlight Audio Guide to DaVinci Resolve 20)
If you need to keep the track stereo for another reason, use the Fairlight panner or Stereo Fixer instead. A mono clip centered through a stereo path can sound centered, but the underlying track still has two channels. That is different from changing the track to a true mono format.
If the problem is actually a recording with audio on only one side, use Stereo Fixer > Left Only or Right Only to audition the inputs, then map the good channel to a mono track. Do not raise the quiet side and call it a mono conversion. A silent embedded channel cannot be recovered by routing.
If the meters are not moving at all, the issue is not the stereo-to-mono setting. Use the related guide on DaVinci Resolve audio meters not moving to check mute, solo, track enable, and routing states.
If the menu is hard to find in your current layout, Uncle can point at the exact track control in your own Resolve project while you work.
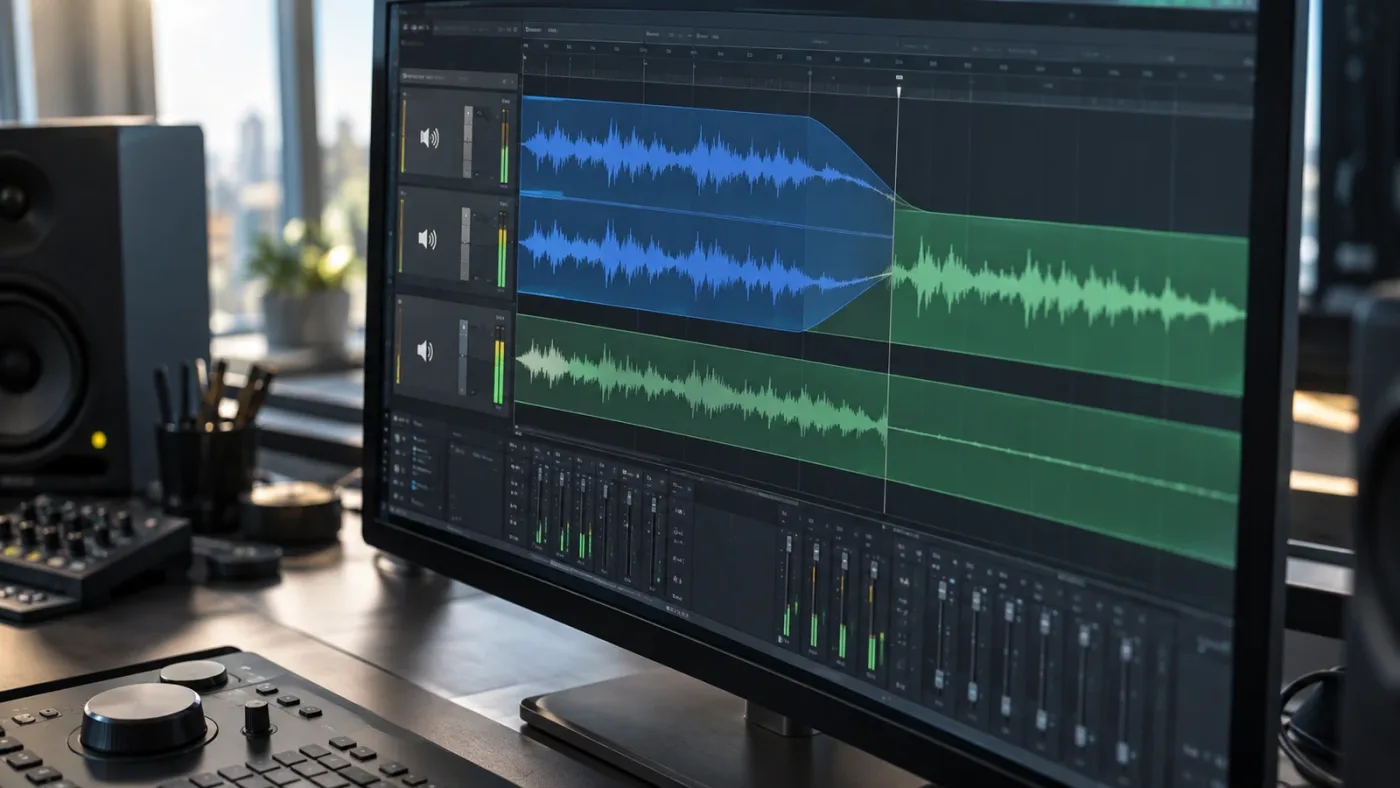
How do I make a stereo track mono without changing the source clip?
Change the timeline track type to Mono when you want the current timeline to treat its audio as one channel without changing the source media file. Right-click the track header, choose Change Track Type To, and select Mono.
This is usually the cleanest fix for a voiceover that was imported as stereo by mistake. It keeps the source file available for other uses, while the timeline uses a mono track that routes the signal to the center. Blackmagic's official Fairlight material teaches the same track-header operation and shows the channel indicator changing to 1.0. (The Fairlight Audio Guide to DaVinci Resolve 20)
There are three limits to remember:
- It does not automatically combine left and right as a new summed signal.
- It does not decide whether the left or right embedded source is the useful microphone.
- It does not by itself force the final rendered file to have one channel.
If the clip contains two distinct speakers, this track-level fix can hide the distinction you need for a good mix. If the clip contains one speaker recorded on one input, it is often exactly right. Fairlight's own training materials say mono is the preferred track format in many dialogue and narration workflows because a voice normally belongs in the center rather than spread as a stereo image. (The Fairlight Audio Guide to DaVinci Resolve 18)
For a timeline with many dialogue clips, select the relevant audio tracks and change their track type together where Resolve permits it. Then check the track indicators and play a few clips. A setting that is correct for narration may be wrong for music, room tone, or a stereo effects bed.
Changing a Resolve track to Mono is a routing change, not a destructive rewrite of the media file.
How do I split a stereo recording into two mono tracks?
To split a stereo recording into two mono tracks, set the clip format to Mono and add two mono tracks in Clip Attributes, then map each embedded channel to its own track. This is the correct choice when the left and right channels are separate microphones rather than a stereo mix.
Use this workflow before you do a lot of cutting:
- In the Media Pool, right-click the source clip and open Clip Attributes.
- Open the Audio tab.
- Set the format to Mono.
- Set the number of tracks to 2, then use Add if the dialog requires it.
- Map Embedded Channel 1 to Audio 1.
- Map Embedded Channel 2 to Audio 2.
- Click OK and edit the remapped clip into the timeline.
The two mono tracks give you independent level, mute, solo, EQ, dynamics, and pan control. You can keep both people centered, place one slightly left and the other slightly right, or mute a bad channel for a section. That flexibility is worth more than a quick one-click downmix when the original stereo file is really a dual-mic recording.
If the two tracks need to move together, use a linked or grouped workflow after mapping them. If they need different noise reduction or different repair, leave them independent until the mix is finished. A linked edit relationship and a mono channel format solve different problems.
The Fairlight page is designed for both options. Blackmagic describes channel mapping for multiple microphone sources and says clips can be edited to one multichannel track or separate mono tracks. (Blackmagic Design Fairlight channel mapping)
This is also where the difference between a two-channel stereo recording and a stereo mix matters. A stereo mix might contain a wide music image, reverb, and effects that should be summed carefully. A two-mic camera file might contain a person on the left and another person on the right. The file extension and the word stereo do not tell you which situation you have. Listen to the channels separately.
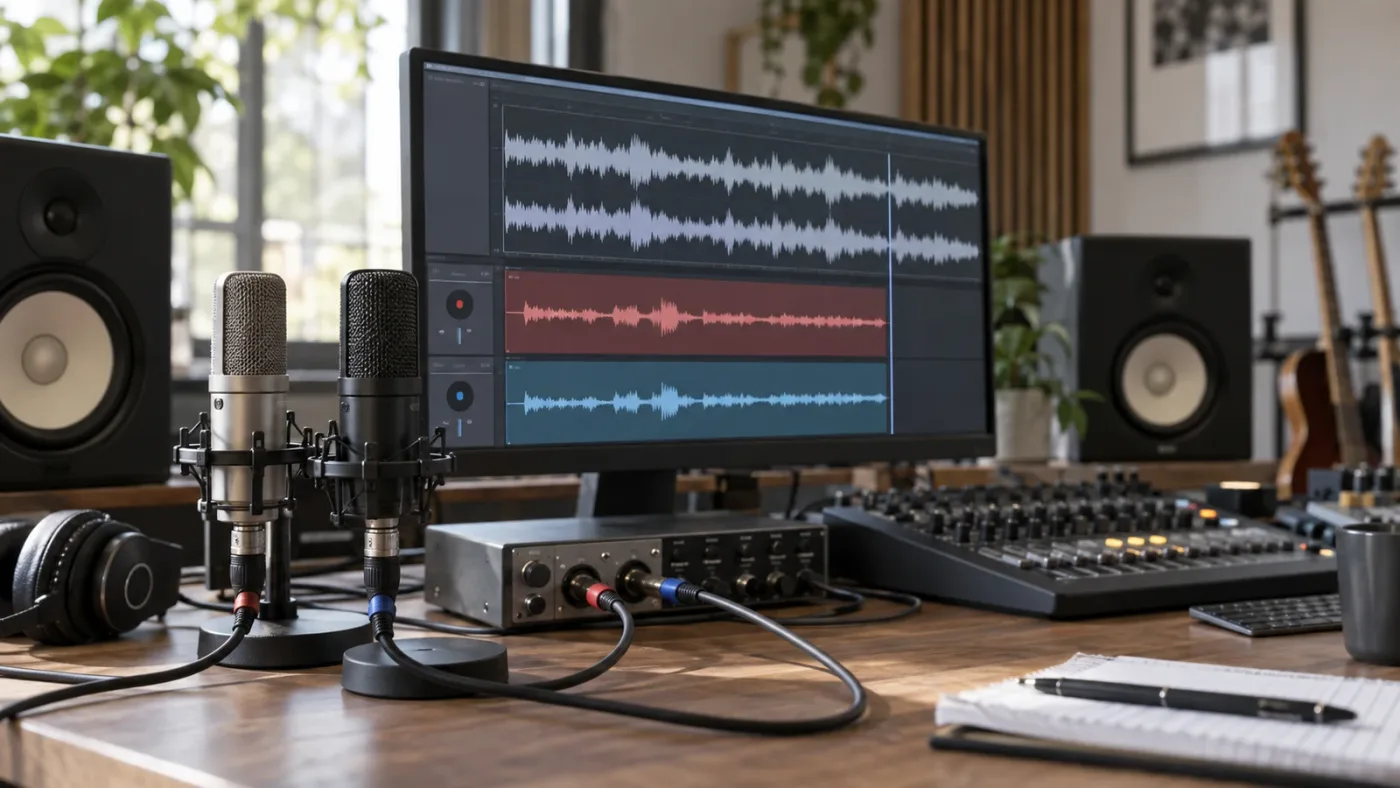
How do I export a mono file from DaVinci Resolve?
To export a one-channel file, set the relevant Fairlight bus to Mono and choose the mono bus or track in the Deliver page's Audio Settings. A mono clip or mono timeline track alone does not guarantee that the final file will contain one channel.
There are two separate decisions at export. First, how the clips and tracks are mixed. Second, how the selected bus or track is rendered. Blackmagic says the Deliver page's Audio Settings let you select the audio format, busses, and tracks to render, and that Fairlight can output mono, stereo, 5.1, 7.1, 22.2, and other formats. (Blackmagic Design's Fairlight delivery documentation)
For a simple mono deliverable:
- Open the Fairlight page.
- Choose Fairlight > Bus Format.
- Identify the bus carrying the finished mix, commonly the main bus.
- Set that bus's format to Mono, or create a separate mono bus if you must keep a stereo master too.
- Open the Deliver page and expand the audio settings.
- Select the mono bus or track as the render source.
- Render a short test and inspect the resulting file in a media player or audio utility that reports channel count.
Changing the main bus changes the way the entire mix reaches that bus. That can be the right answer for a mono podcast feed or a speaker with a one-channel delivery requirement, but it can be the wrong answer if you still need a stereo master. In that case, preserve the stereo main bus and create a dedicated mono delivery path.
When you bounce a mix to a track or file, pay attention to the source bus. Blackmagic states that a bounced mix takes the channel configuration of its source bus. (Blackmagic Design Fairlight page, bounce and delivery) That is why a track looking mono in the timeline is not enough evidence that a bounced or rendered file is mono.
A one-channel export is decided at the delivery path, not only at the individual clip.
What should I do when the left and right channels are different?
When the left and right channels contain different microphones, split them into two mono tracks and mix them independently. When the left and right channels are two halves of one stereo program, use Stereo Fixer or Stereo Width to create a summed mono result and listen for phase changes.
Here is a practical diagnosis table:
| What you hear | Likely source problem | Better fix |
|---|---|---|
| Voice only in the left ear | A mono clip is on a stereo track or the left channel is mapped alone | Change the track to Mono, then check Clip Attributes |
| Voice only in the right ear | The right embedded source is mapped into a stereo path | Change the track to Mono or select the right source deliberately |
| One person on the left and another on the right | Two microphones were recorded into a two-channel file | Split into two mono tracks |
| Music loses width but stays complete | A stereo mix has been collapsed | Use Stereo Fixer or Stereo Width and listen for phase or level changes |
| Music loses half its content | Clip Attributes selected only one embedded channel | Restore the stereo mapping or use a real downmix |
| Export still reports two channels | The bus or Deliver settings remain stereo | Set the delivery bus or output format to Mono |
The waveform is useful, but it is not enough. A left and right waveform can look similar while the channels contain different timing, polarity, or microphone positions. Solo each side, listen in headphones, then decide whether you want selection, separation, or summing.
If you are working with dialogue, make the choice before you start detailed EQ and compression. Processing a stereo track and then changing it to mono can make it harder to tell which decisions belong to the source and which belong to the channel layout. If you are working with music or a finished sound bed, audition the collapsed version against the original before committing.
For a stereo file with one dead side, select the working side and use it as mono. For a stereo file with two different voices, split the channels. For a stereo file with one coherent mix, downmix both sides. Those three cases can share the same file extension and still need three different Resolve workflows.
Is an app that helps you while using DaVinci Resolve useful for this fix?
An app that helps you while using DaVinci Resolve is useful when you understand the goal but cannot find the right control in your current page, version, or layout. It is not the best way to learn DaVinci Resolve from zero, and it cannot replace listening to both channels before you choose a mapping.
The best way to learn DaVinci Resolve depends on the problem. If you need to learn DaVinci Resolve fast, use the free official training for fundamentals, then practice on a real clip instead of watching a second explanation of the same menu. A focused YouTube lesson can help when you need to see a complete workflow. An AI tool to learn DaVinci Resolve can help with a stuck control, but only if it gives you an answer you can verify in your own project.
Here is the honest split between the options editors may encounter in 2026:
| Help option | Good fit for | Not the right fit for |
|---|---|---|
| Blackmagic Design's free Fairlight training | Learning channel mapping, buses, mixing, and the Fairlight vocabulary in a structured way | A one-minute answer while a deadline is running |
| YouTube tutorials | Seeing a full example from import to mix | A project whose clip names, audio format, or Resolve version differs from the video |
| Sottocut | An assistant editor that proposes and verifies timeline work inside an open Resolve project | A quick explanation of why Clip Attributes selected one channel |
| CutAgent | Natural-language editing workflows that execute supported DaVinci Resolve operations | A screen-pointing lesson where you want to make every click yourself |
| heyeddie.ai | Logging footage, building rough cuts, and sending edits back to Resolve | Channel mapping inside the Fairlight Audio tab |
| PremiereCopilot | Text-to-edit work inside Adobe Premiere Pro | This Resolve-specific mono conversion |
| TryUncle | Finding the exact Resolve control while you are already stuck in your own project | A replacement for deliberate listening and mixing decisions |
The descriptions above reflect each product's current public positioning. Sottocut describes itself as an assistant editor for DaVinci Resolve that scores footage, proposes cuts, and verifies timeline changes. CutAgent describes an agent that executes DaVinci Resolve workflows. Eddie AI describes a bridge that imports clips and timelines, creates edits, and sends them back to Resolve. PremiereCopilot is positioned as a native text-to-edit tool for Adobe Premiere Pro, so it is not a solution for this Resolve menu.
We built and run a 100,000+ member professional video-editing community, and questions about controls that move between the Edit and Fairlight pages are a recurring part of teaching Resolve. The useful lesson is simple: learn the difference between source mapping, track format, and output format once, then reuse it every time the same audio problem appears.
TryUncle is the on-screen assistant for DaVinci Resolve on Mac and Windows, and TryUncle can point at the exact control when a tutorial does not match the Resolve screen in front of you. It is paid founder pricing, so check the current rate on the main product page before subscribing.

Which stereo-to-mono method should I choose?
Choose Clip Attributes when you need one embedded channel, a mono track when you need centered routing, Stereo Fixer or Stereo Width when both stereo channels must remain audible, two mono tracks when the channels are separate microphones, and a mono bus when the exported file must have one channel.
Use this final checklist:
- One microphone on the left or right: Clip Attributes, Audio, Mono, then select the working embedded channel.
- One voice playing only on the left: Change the timeline track type to Mono and check the selected source channel.
- A stereo music or ambience file that must collapse to mono: Apply Stereo Fixer set to Mono or set Stereo Width to 0.
- Two microphones recorded as left and right: Map the clip to two mono tracks and mix them separately.
- A mono delivery requirement: Route the finished mix through a mono Fairlight bus and select that bus in Deliver Audio Settings.
Before you render, listen once in headphones and once through your normal speakers. Watch the meters while you switch between the original and the mono treatment. Then render a short test instead of discovering at the end that you selected the left microphone, changed the wrong track, or left the main bus in stereo.
For more audio workflow practice, continue with How to Sync Audio in DaVinci Resolve, Every Method, then use DaVinci Resolve Fairlight Audio Scrub Mode Tutorial when you need to inspect dialogue and edits more precisely.
The safest default is not "always choose Mono." First identify whether your stereo file contains one microphone, two microphones, or one finished stereo mix. Then choose mapping, separation, or downmixing to match the recording.
Frequently asked questions
- How do I change stereo audio to mono in DaVinci Resolve?
- Right-click the source clip in the Media Pool, choose Clip Attributes, open Audio, set Format to Mono, choose the left or right embedded channel, and click OK. For a true left-plus-right sum, use Fairlight FX Stereo Fixer set to Mono instead.
- Why does my mono clip only play from the left speaker in DaVinci Resolve?
- The mono clip is probably sitting on a stereo track. Right-click the audio track header, choose Change Track Type To, and select Mono so Resolve routes the mono signal equally to both speakers.
- How do I keep both left and right channels when converting stereo to mono?
- Do not choose only Embedded Channel 1 or 2 in Clip Attributes. Apply Fairlight FX Stereo Fixer and choose Mono, or set Stereo Width to 0, so the stereo input is collapsed into one mono output.
- How do I split stereo audio into two mono tracks in DaVinci Resolve?
- In the Media Pool, open Clip Attributes > Audio, choose Mono, add two tracks, and map Embedded Channel 1 to Audio 1 and Embedded Channel 2 to Audio 2.
- Can I export a mono file from DaVinci Resolve?
- Yes. Set the relevant Fairlight bus to Mono, then use the Deliver page Audio Settings to render the mono bus or track. Changing a clip or track alone does not guarantee a one-channel exported file.
Sources
- DaVinci Resolve 21 product page
- DaVinci Resolve 21.1 What's New
- The Fairlight Audio Guide to DaVinci Resolve 20
- Blackmagic Design Fairlight page, channel mapping
- Blackmagic Design Fairlight page, delivering a soundtrack
- Blackmagic Design Fairlight training page
- Andy Mees on converting stereo audio to mono
- Jim Simon on stereo to mono channel mapping
- Blackmagic Design Fairlight guide, Stereo Width
- Sottocut, AI assistant editor for DaVinci Resolve
- CutAgent, AI video editing for DaVinci Resolve
- Eddie AI integration with DaVinci Resolve
- PremiereCopilot text-to-edit AI for Premiere Pro
Learn by doing, not watching
Stop translating tutorials to your timeline.
TryUncle stays beside Resolve on Mac and Windows. When you ask, Uncle sees your screen and points at the exact control you need. No hunting through tabs, timestamps, or mismatched tutorials.
Meet TryUncleKeep reading
 GuidesJul 8, 202639 min read
How to Sync Audio in DaVinci Resolve, Every Method
Sync audio and video in DaVinci Resolve with Auto Sync Audio, timecode, the Sync Bin, or a manual clap, plus fixes for drift and failed matches.
 FixesJul 25, 202627 min read
DaVinci Resolve Audio Meters Not Moving: Every Fix
DaVinci Resolve's audio meters frozen or flat during playback? Here's every real cause, in check order: routing, patching, mute, and monitor style.
 GuidesJul 25, 202633 min read
DaVinci Resolve Fairlight Audio Scrub Mode Tutorial (Full Guide)
Turn on Fairlight audio scrub mode in DaVinci Resolve with Shift-S, use JKL and Loop Jog to hear audio while scrubbing, and fix it when it goes silent.