
Learn / DaVinci Resolveupdated for DaVinci Resolve 21 (September 2026)
DaVinci Resolve Audio Automation Line Not Visible: Fix
Quick answer
If the DaVinci Resolve audio automation line is not visible, open the Fairlight page, select the audio track, and choose the parameter from the track header's Automation View menu. For clip volume, select the clip and use its gain line instead. In Resolve 19.1 and later, right-click a supported mixer or plug-in control and choose its automation view.
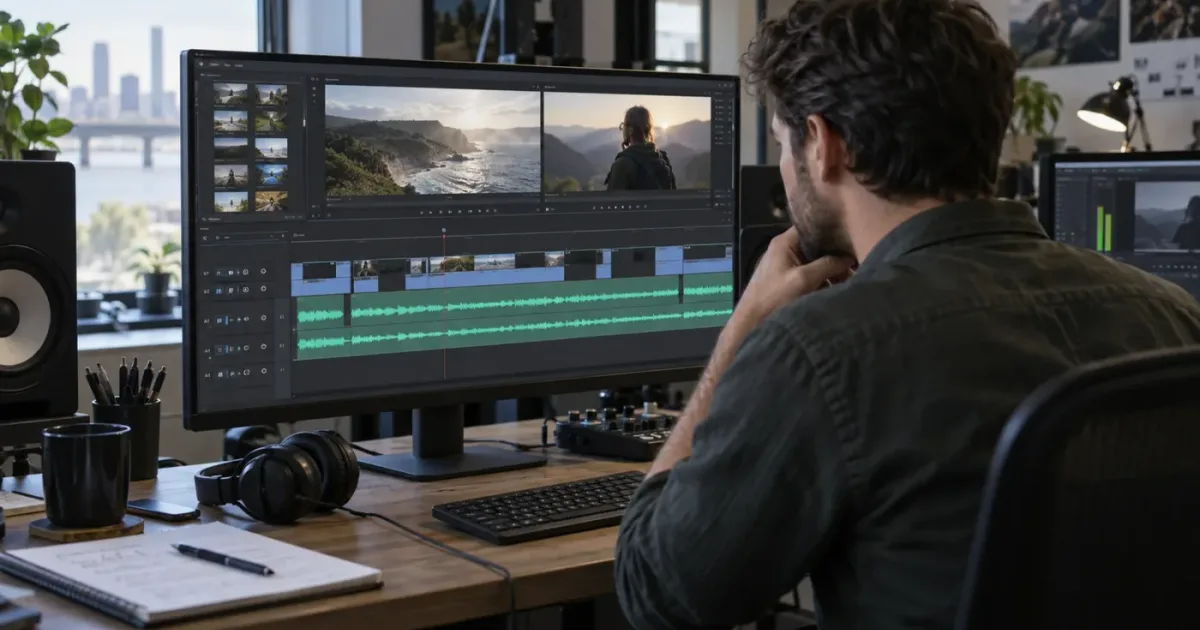
The line is usually not gone. Resolve is showing a different control, a different track, or a different part of the signal path.
I start with Fairlight, select the track, and choose the parameter I want to inspect. Then I use the mixer and playback to check whether the curve is really active.
This guide is written for DaVinci Resolve 21.x, with the relevant display differences in Resolve 19.1 and Resolve 20 called out as they matter. It covers clip gain, track automation, plug-in parameters, buses, folder tracks, and the cases where a line is visible but still refuses to behave as expected.
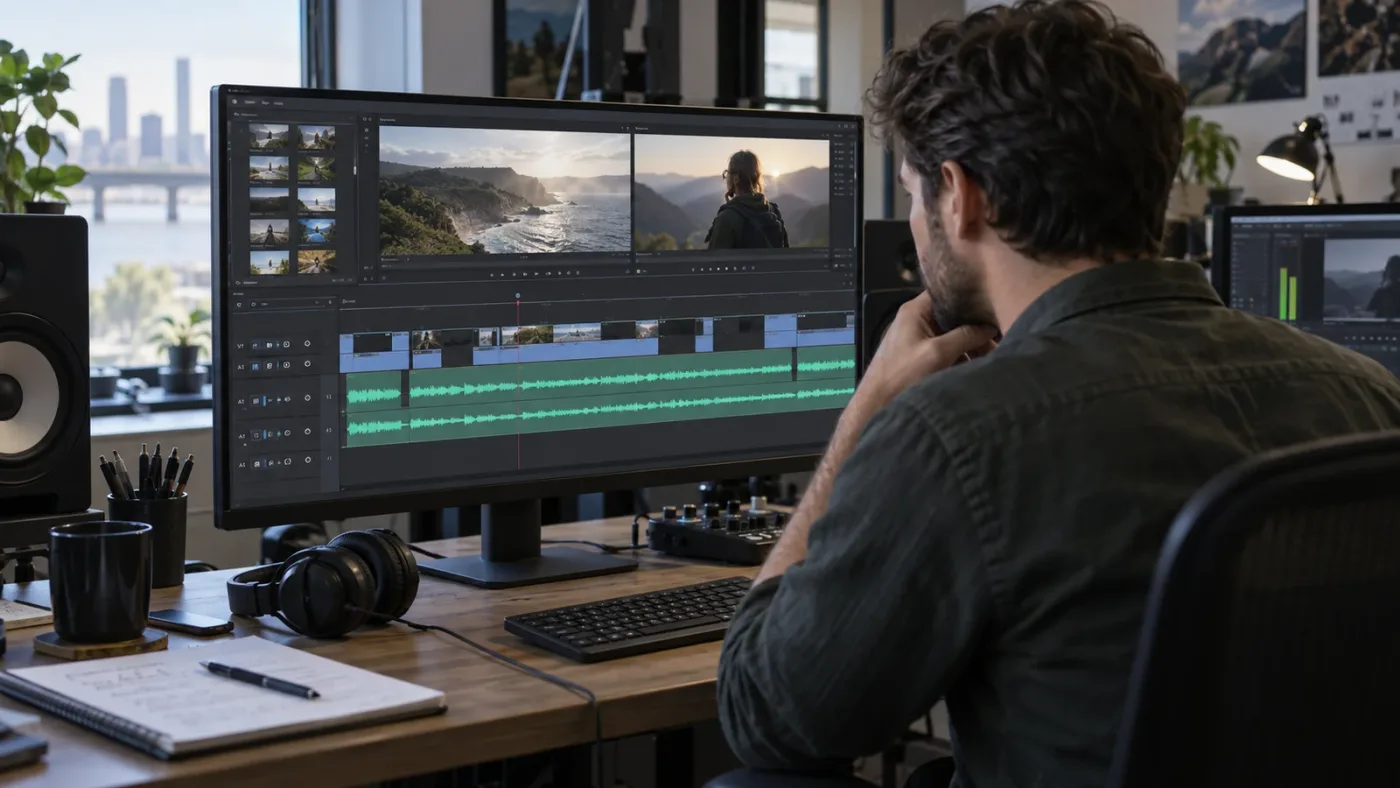
Why is the DaVinci Resolve audio automation line not visible?
The DaVinci Resolve audio automation line is usually not visible because the timeline is showing the wrong kind of level control. A clip gain line belongs to one audio clip. Track automation belongs to a track parameter such as fader level, pan, mute, a send, or a supported plug-in control. Resolve needs you to choose that parameter before it can draw the corresponding curve.
That sounds simple, but the symptoms overlap. A creator may say “the automation line is missing” when any of these is happening:
- The line is visible, but it is flat because no points have been written in the current range.
- A clip gain line is visible, but the editor expects a track fader curve.
- The track contains automation, but the header is displaying Pan instead of Fader Level.
- The automation was written on a bus, while the editor is looking at the source track.
- The track header is too short to expose the automation selector.
- The editor is on the Edit page and expects the Fairlight track view.
- A Resolve 21 folder is collapsed, hiding the individual child tracks.
- The chosen effect parameter is not exposed to Resolve's automation list.
- The points exist outside the visible timeline range.
- The curve is there, but another gain stage makes the audible change hard to notice.
Blackmagic's Fairlight overview separates clip controls from track and bus automation. Its description of Fairlight identifies a clip gain line in the middle of an audio clip, then describes track-header menus for showing different automation curves. That distinction is the foundation of this fix.
The first question is not “Where did the line go?” It is “Which object did I automate?”
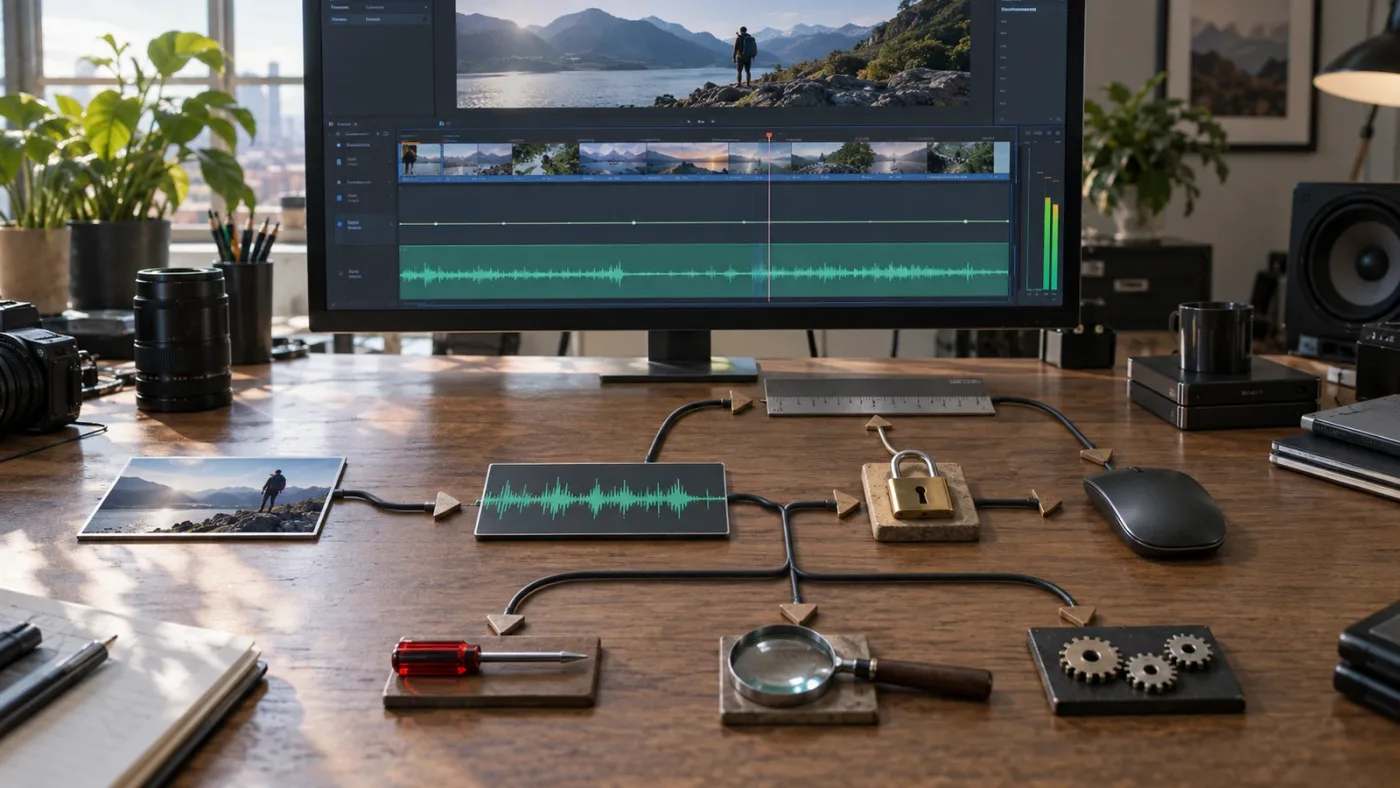
If you used Option-click on macOS or Alt-click on Windows directly on an audio clip, you likely created clip gain keyframes. If you moved the Fairlight mixer fader with an automation mode active, you likely created track fader automation. The two curves can exist at the same time. They can also produce a result that looks different from either curve when a bus or main output adds another change later in the signal path.
The clip gain line and the track automation line are different controls in DaVinci Resolve.
This difference is useful once you know what it means. Clip gain travels with the clip. Track automation belongs to the selected track parameter. Bus automation sits later in the route and can affect several source tracks together. A line that seems absent may simply belong to a different layer.
DaVinci Resolve 18.1 also brought expanded vector-based track automation and automation-following workflows to Fairlight. That is one reason older instructions can look different from the current interface, even when they describe the same idea. The Resolve Studio 18.1 release discussion is the relevant source for that version context.
What should you check before changing anything?
Do not delete the track, split every clip, bounce the audio, or re-record the mix as a first response. Start with a reversible inspection. Your goal is to identify the object, parameter, and time range before you touch the data.
- Look at the line's location. A line through the middle of one clip is probably clip gain. A curve associated with the track header is more likely track automation.
- Read the track name and number. A busy session can make it easy to inspect the waveform above or below the one that owns the move.
- Select the track header, not only the clip. Track automation is tied to the track and its selected parameter.
- Expand the track vertically. Compressed headers can hide the selector or make a subtle curve almost impossible to see.
- Open the mixer. Watch the fader, pan control, or plug-in control while the playhead crosses the place where you expect the move.
- Check whether the visible track is a source, bus, main output, or folder track.
- Note the Resolve version before following a version-specific tutorial.
These checks separate visibility from data. A curve can be hidden while automation is still present. A curve can also be visible while the selected parameter has no written points. Those cases need different fixes.
One useful habit is to write down a plain-language description of the intended change. “Make this word louder” points to clip gain. “Lower all music under the interview” points to track automation, a music bus, or a ducker. “Move the ambience from left to right” points to pan automation. “Open the reverb only at the end of the line” points to a plug-in parameter. The sentence tells you where to look.
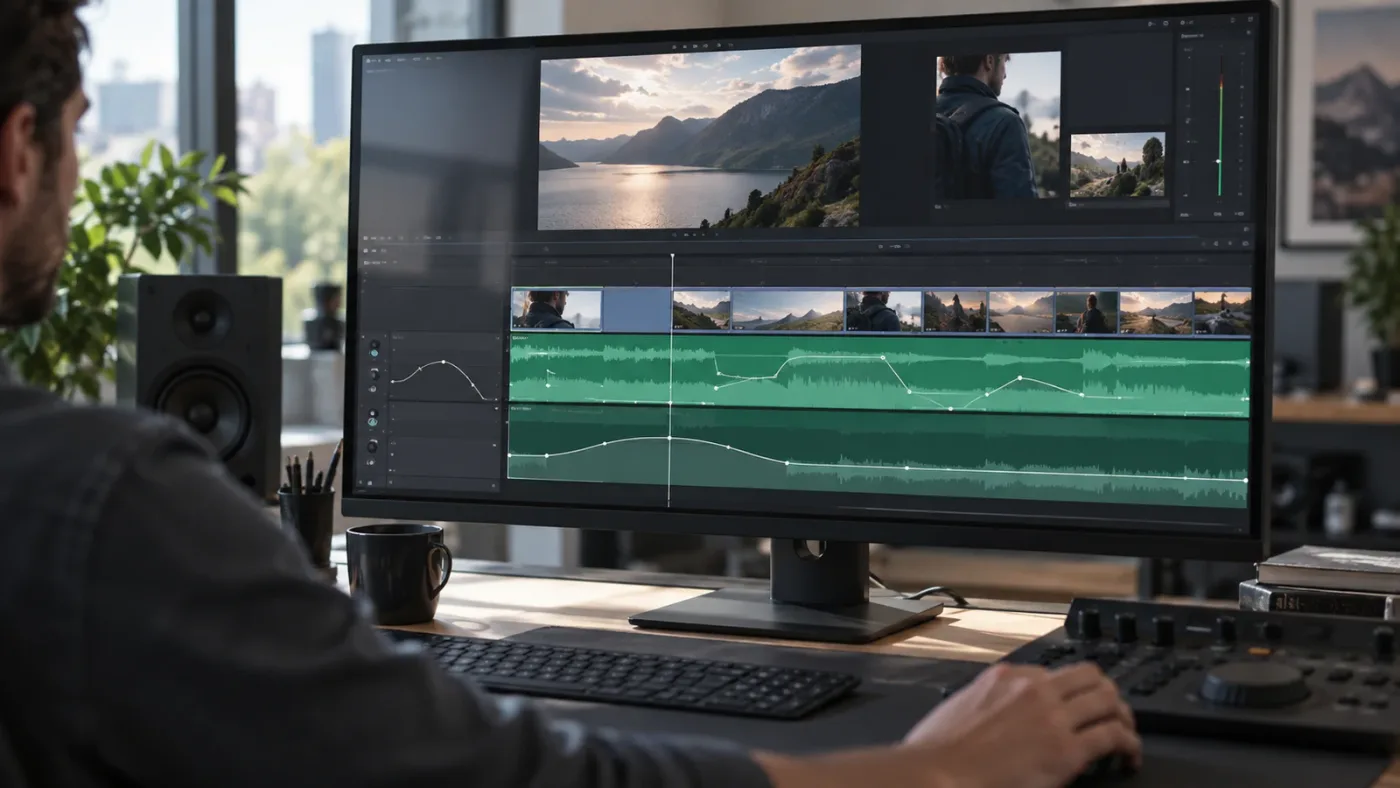
Is the missing line clip gain or track automation?
The missing line is clip gain when you want to change one clip's level. It is track automation when you want to control a track parameter over time. Identify the intended scope before choosing a menu or shortcut.
| What you want to change | Where the control lives | What you should expect to see | Best first move |
|---|---|---|---|
| One clip's loudness | The audio clip in the timeline | A horizontal clip gain line through the clip | Select the clip and adjust its gain line or add clip keyframes |
| A track's fader level | The Fairlight track automation view | A selected fader-level curve in the track | Select the track, then choose Fader Level |
| A track's pan | The Fairlight track automation view or mixer | A pan parameter curve | Select the track, then choose the matching pan parameter |
| A Fairlight FX control | The track's automation parameter list | A curve named for the plug-in parameter | Select the supported parameter or use the 19.1 right-click route |
| A third-party plug-in control | The track automation view, if exposed | A curve named for the available parameter | Confirm that the plug-in exposes the parameter to Resolve |
| Music below dialogue | A ducker or written track automation | A fader curve, a plug-in setting, or both | Choose direct track moves, a music bus, or a ducking workflow |
| Several tracks together | A bus or folder-related mix path | A bus-level curve | Select the bus and display its parameter |
| A final fade | The main or selected output stage | A main or bus fader curve | Automate the output that owns the final fade |
Blackmagic's Fairlight documentation describes audio clips as having their own volume, pan, pitch, and six-band parametric EQ controls. It separately describes the automation toolbar and track-header parameter curves for track and bus automation. These are concrete interface categories, not interchangeable names. (Fairlight overview)
What is the scope of the change?
Scope is the fastest diagnostic shortcut. A local correction should stay local. A mix decision should live at the track, bus, or output level where you can understand it later.
Suppose a voice recording contains one loud breath. Clip gain is a sensible first tool because the breath belongs to one clip and one moment. Suppose the same voice track needs a gentle ride for an entire interview. Track fader automation is easier to inspect and revise across multiple clips. Suppose five music stems should all drop together under dialogue. A music bus can express that decision in one place.
The line is not merely decoration. It tells you which scope you are editing. If you see a clip line and expected a bus move, the interface is giving you a useful warning that you are looking at the wrong layer.
How does clip gain behave?
Clip gain changes the level of a particular clip. If the line disappears when you click another clip, that is normal for clip-level work. The line is drawn in the clip, so it should not continue across the entire track.
For one voice recording, clip gain can be the least complicated tool. You can add points around a cough, a breath, or a quiet word and move those points without entering the track automation system. The adjustment remains attached to that clip, which is helpful when several unrelated clips share one track.
The trade-off is scope. If a music bed runs below a long conversation, placing separate clip points on every music clip can become a maintenance problem. Track automation or a ducker expresses the repeating relationship more clearly. Blackmagic's Fairlight overview describes automatic ducking as a track FX workflow that uses one or more dialogue tracks as the source for volume reduction on a target track. (Fairlight overview)
The clip line also has a useful failure mode. If you can still see it after the track automation curve seems to vanish, your audio data may be intact. You may simply be looking at clip data while the track parameter view is turned off or set to something else.
When should you use clip gain?
Use clip gain for a change whose cause belongs to the recording or the individual piece of media. Typical examples include:
- One syllable that was recorded too softly.
- A breath that distracts from a sentence.
- A sound effect that arrives too loudly compared with the neighboring effects.
- One music clip that needs a small correction before the broader music ride.
- A clip imported with a different level from the rest of the take.
When is clip gain the wrong tool?
Clip gain is the wrong starting point when the change must follow a track, a group, or the final output. It can still produce the desired sound, but it spreads one decision across many clips and makes the automation harder to audit.
If you cut a music bed into twelve clips and lower each one to make room for dialogue, a later change to the dialogue timing can force twelve separate edits. A music track or bus curve can often represent the same intent with fewer points. The best choice depends on the edit, but the distinction remains: clip gain is local, track automation is continuous at the track level.
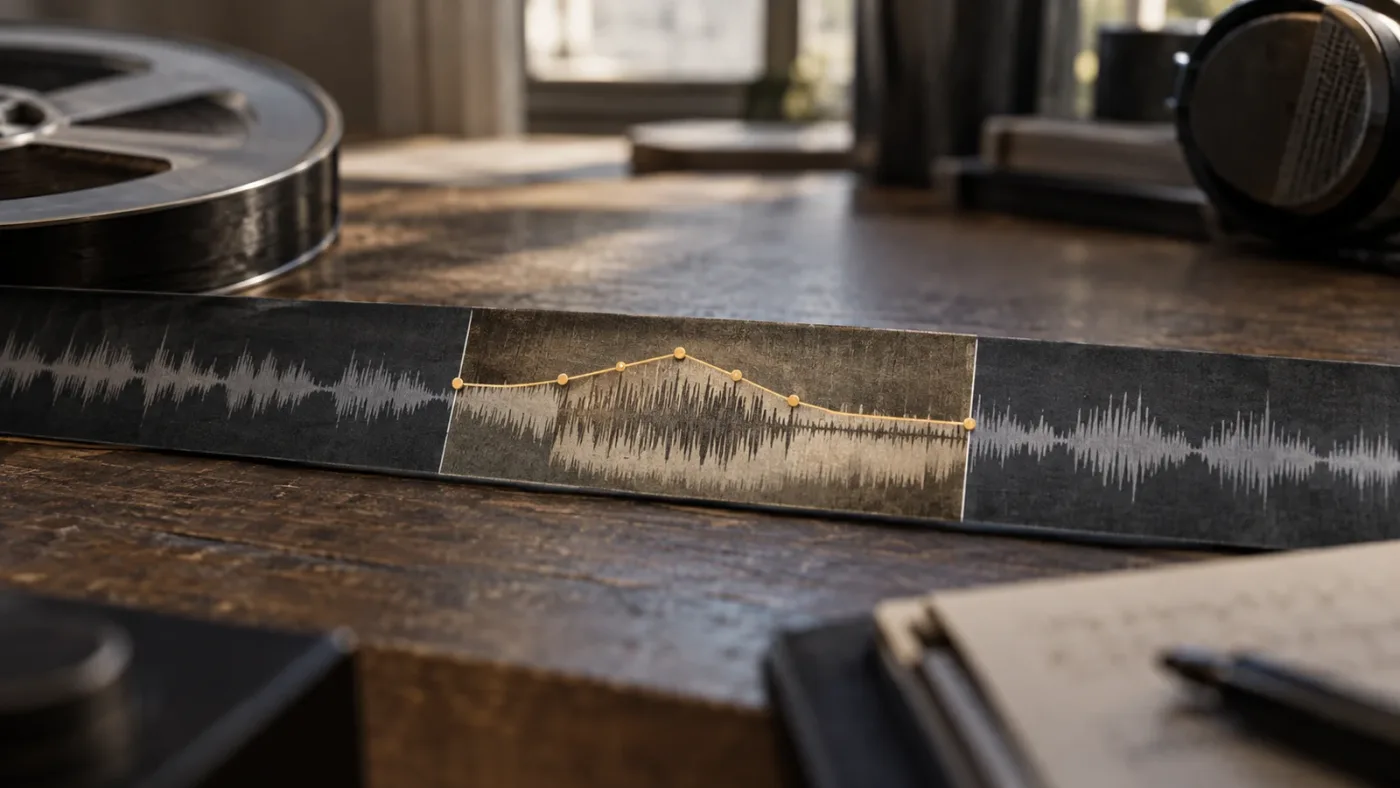
How does track automation behave?
Track automation changes a parameter on a track or bus over time. The visible curve is not generic “audio automation.” It is the curve for the parameter you selected.
If you wrote fader moves but the header is showing Pan, the fader curve will not appear. If you wrote a plug-in parameter but the header is showing Fader Level, the plug-in curve will not appear. If you wrote automation on a bus and are looking at the source audio track, the line can be absent even though the mix is moving.
This is why parameter selection comes before zooming. Zooming can make an existing line easier to see. It cannot display a different parameter or move the curve from a bus to a source track.
Do not choose a nearby name because it sounds close. “Band 1 Frequency” and “Band 1 Gain” are different parameters. “Track Fader” and “Bus Fader” are different locations in the signal path. The exact name is a diagnostic clue.
Track automation displays the selected parameter, not one universal audio-volume line.
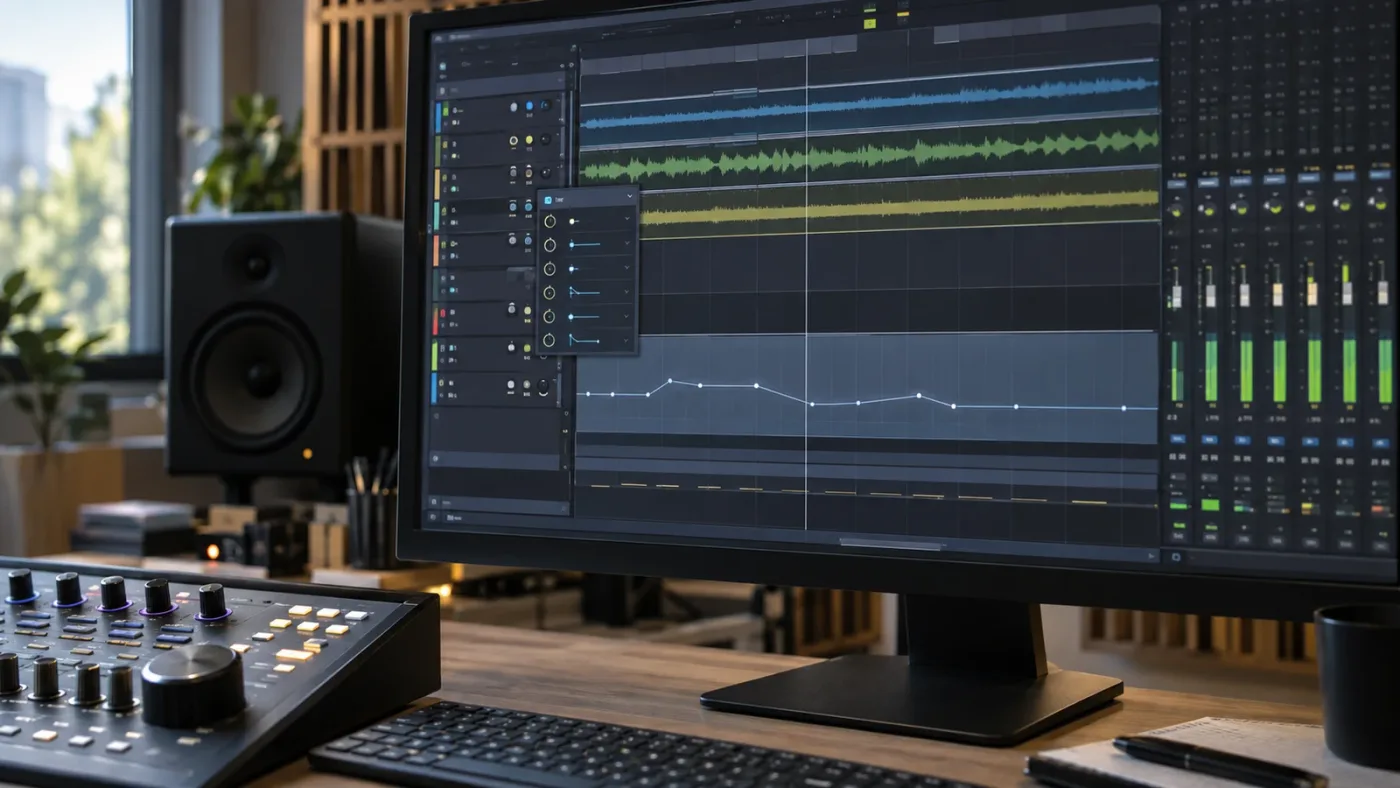
How do I show the DaVinci Resolve audio automation line?
To show the DaVinci Resolve audio automation line, open the Fairlight page, select the audio track, and choose the parameter from the track header's Automation View selector. The selector must display the same parameter you recorded or edited.
Use this sequence when you want the general fix.
-
Open the Fairlight page.
Fairlight puts the audio timeline, mixer, track headers, and automation controls in one working area. Blackmagic's official DaVinci Resolve training separates Fairlight lessons into navigation, audio editing, sound design, mixing, recording, buses, and automation.
-
Locate the target audio track.
Do not rely on clip selection alone. Click the track header or track name for the track where the automation was written. If the timeline is crowded, use the track name, number, mute, solo, and routing labels to confirm the target.
-
Expand the track vertically.
A very short track may show only a name and a few buttons. Drag the boundary between tracks to give the target more height. The point is to expose the header controls and provide enough room to inspect a curve.
-
Find the Automation View selector.
The exact visual treatment can vary with the workspace and Resolve version. Look for the current parameter name or a small drop-down attached to the track header. The selector chooses the track parameter drawn in the timeline.
-
Choose Fader Level for volume automation.
Fader Level is the first view to try for a music duck, dialogue ride, or mixer fader move. If the curve appears, you have found the right parameter. If it stays flat, the track may have no fader automation in the visible range, or the data may be on another track or bus.
-
Choose Pan for pan automation.
Pan data and fader data are separate. A fader curve cannot reveal a pan move. Select the pan parameter that matches the channel layout and the control you changed.
-
Choose the exact plug-in parameter for effect automation.
A plug-in can expose several parameters. Select the parameter itself, not only the plug-in name. For example, frequency, gain, and Q are separate EQ choices. A compressor's threshold and release are separate controls.
-
Play over the expected range.
Watch the mixer control as well as the timeline. The curve can be present but subtle, especially when the values are close together. A moving fader or changing plug-in control confirms that you selected the relevant parameter.
-
Return to the clip line only if the change was clip-level.
If the track view shows no data but the clip still has a visible gain line, you may have used clip automation rather than track automation. That is not a failed repair. It is a different data type.
Blackmagic's Fairlight overview describes enabling automation controls, choosing settings, enabling parameters, and using the track-header drop-down to show different curves. (Blackmagic Design Fairlight overview)
A hidden automation line is usually a display selection problem, not missing audio data.
What if the selector is visible but the line is still absent?
Check the parameters in a fixed order so the diagnosis stays understandable:
- Choose Fader Level.
- Play through the section where you remember writing the move.
- Choose Pan.
- Play through the same section again.
- Select a known plug-in parameter if the track has one.
- Inspect the source track, its bus, and the main output separately.
- Confirm the timeline is zoomed and positioned over the expected range.
If the curve appears after one of these changes, the problem was the view. If no curve appears but the mixer moves, the data may be on a different object or the view may be too compressed. If neither the line nor the mixer changes, move to the writing, routing, and project-state checks later in this guide.
Can the line be hidden by track height?
Yes, a cramped track can hide controls and make the curve difficult to inspect. Expand the track before concluding that the parameter selector is missing. Track height is a display issue, so changing it should not alter audio data.
This is also why a tutorial screenshot can be misleading. The instructor may have enlarged the track before recording the screen. Your track may be compressed because the timeline contains many dialogue, music, effects, and bus rows. Match the visible controls, not just the tutorial's page name.
Can timeline zoom hide the curve?
Timeline zoom can make a curve appear too thin or place the expected points outside the visible range. Zoom around the time where you remember making the move. Do this after choosing the track and parameter.
The order matters. If you zoom first, you can spend time inspecting a detailed view of the wrong track. If you select first, zoom becomes a simple visibility check.
Why is the volume line visible but the automation line missing?
The volume line can be visible because it is the clip gain line, while the track automation line is hidden because the track is set to another parameter. The visible line proves that a clip-level control exists. It does not prove that a track fader curve is being displayed.
This is the most common false positive in the missing-line problem. You see a horizontal line running through one audio clip and reasonably assume it is the track volume automation. Resolve can instead be showing the clip's gain. That line can be edited with clip keyframes and can remain independent from the track fader.
What does the clip line control?
The clip line controls the clip's level before the track mix. It is useful for uneven recordings, individual sound effects, and one piece of music that needs a local correction. Blackmagic's Resolve 20 Fairlight Audio Guide treats clip keyframes and track automation as related but distinct workflows. The Fairlight overview also identifies the clip gain line in the middle of the clip and describes Option-click keyframes on macOS.
If your goal is “make the second sentence louder,” stay with clip gain. If your goal is “bring the dialogue track up for the entire interview,” use the track fader or a bus strategy. If your goal is “raise this one clip while leaving the next clip alone,” clip gain is the better match.
What does the track line control?
The track line controls the chosen track parameter over time. The curve may represent fader level, pan, mute, an EQ value, a dynamics control, a send, or a supported plug-in parameter. Each parameter has its own automation data, so selecting one does not automatically display the others.
The Resolve 19.1 New Features Guide gives a version-specific shortcut. Fairlight can show track automation by right-clicking parameters on Fairlight FX, supported Audio Unit or VST plug-ins, or mixer channel controls. The chosen parameter then appears in the track header and its curve appears on the timeline.
That right-click route is often useful when a track has a long list of exposed controls. It is still a display selection action. It does not convert clip gain into track automation, and it does not create points by itself.
Can both lines exist at once?
Yes. A clip can have local gain shaping while the track fader also moves. The final level you hear reflects the combined signal path. That can be intentional, but stacked level changes make a session harder to troubleshoot.
When a result sounds wrong, inspect in this order:
- The clip gain line on the specific clip.
- The track fader automation on the source track.
- Any track plug-in or send that changes level.
- The bus automation receiving the track.
- The main output or monitor path.
A clip with a lowered gain line can make a correctly automated fader seem ineffective. A bus move can affect several tracks at once, so looking only at the source clip can miss the cause. If you want a clean diagnostic, temporarily use one simple clip and one track, then compare it with the original project.
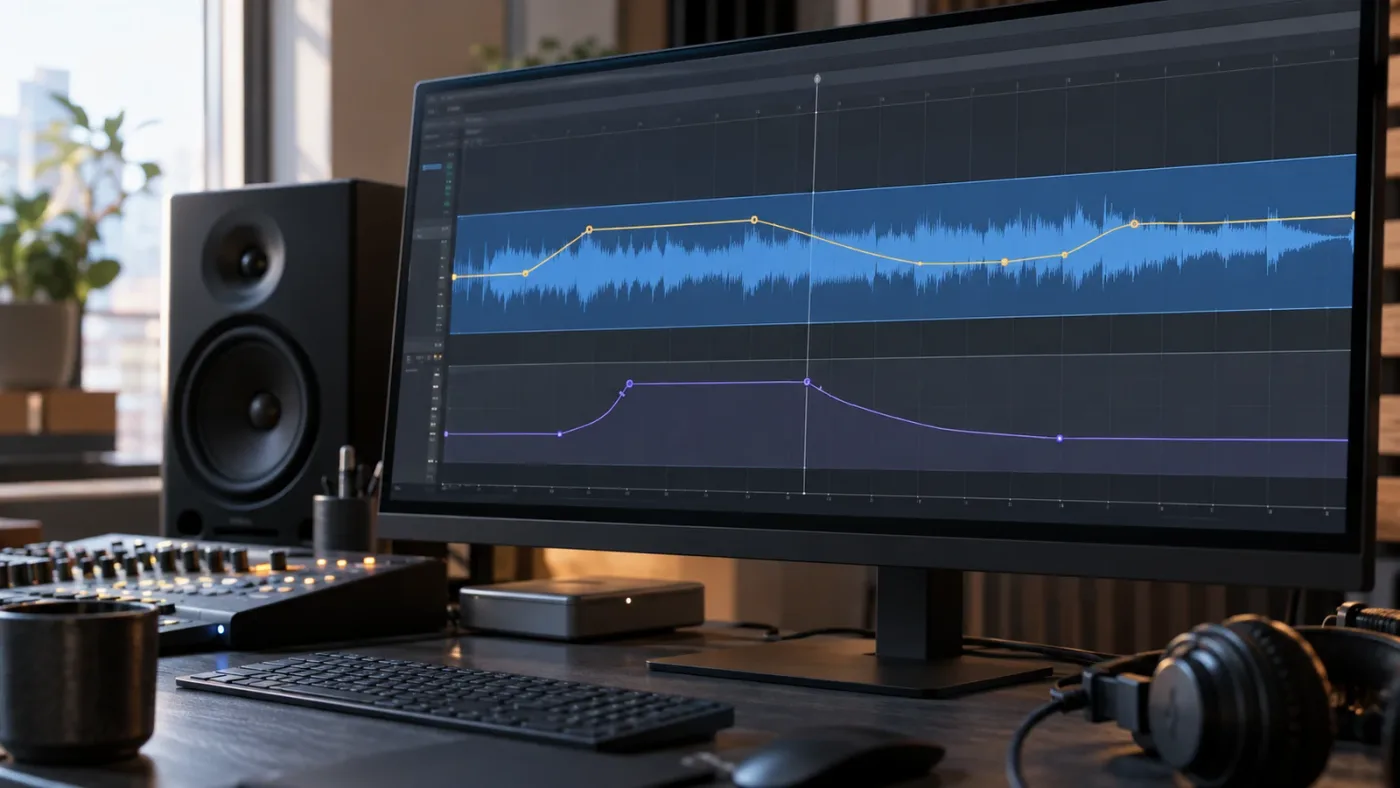
How do I show fader level, pan, or plug-in automation?
Choose the exact parameter from the track header because DaVinci Resolve does not use one universal line for every automated audio control. Fader Level, Pan, plug-in parameters, sends, and other controls can be selected as separate automation views.
How do I show fader-level automation?
Select the audio track, open the Automation View selector, and choose Fader Level. Play through the time range where you wrote the move. If the fader moves in the mixer and the curve appears in the timeline, the display is correct.
Fader automation is the appropriate view for music ducks, dialogue rides, sound-effect swells, and broad level changes made with the mixer. It is not the right view for a clip-only gain correction.
If nothing appears, check the track and the bus. A fader move may have been written on a bus instead of the source track. Blackmagic's Fairlight documentation calls out main and bus tracks in the timeline and graphical editing of their automation data. (Fairlight overview)
How do I show pan automation?
Select the track's pan parameter in the Automation View menu. Depending on the channel format, the menu can expose more than one pan-related control. Choose the one that matches the movement you created.
If you automated pan with a Fairlight viewer or mixer control, you need to display the corresponding pan data. A volume curve cannot show the same movement because volume and pan are separate parameters. Blackmagic's Fairlight documentation treats pan and fader level as separate track controls, so select the pan parameter that matches the control you changed. (Fairlight overview)
To diagnose an apparently missing pan curve, place the playhead over the movement, select the track, and try the available pan choices one at a time. Watch the pan control in the mixer. If you find a control that moves but the timeline curve remains difficult to see, expand the track and zoom into the move rather than switching to a fader view.
How do I show plug-in automation?
Open the track's plug-in or mixer control, identify the parameter you changed, and choose that parameter in Automation View. In Resolve 19.1 and later, right-clicking a supported control can take you directly to its automation view.
Do not stop at the plug-in name. An EQ can expose frequency, gain, Q, band enable, and other values. A compressor can expose threshold, ratio, attack, release, and makeup gain. The available list depends on the plug-in and what it exposes to Resolve.
The official 19.1 guide illustrates this with a supported parametric EQ plug-in. Right-clicking a parameter selects its name from the Automation View submenu and displays the current curve in the timeline. (Resolve 19.1 New Features Guide)
If a control is not listed, do not draw a different curve and call it the same parameter. First confirm that the plug-in is on the track, that it is the plug-in you automated, and that the parameter is exposed. Some controls are better handled in the effect's own interface, with a clip-based alternative, or through a different routing choice.
How do I show bus automation?
Expose the bus or main track in the Fairlight timeline, select it, and choose the relevant parameter. A bus is not the same object as the source audio track, even when the bus controls the final level you hear.
This matters for music ducking. You might automate a music track directly, a music bus that combines several stems, or the main output. Each location produces a different visible curve. If the line is not in the source track, inspect the next point in the signal path.
Bus automation belongs to the bus, even when the source track is the sound you hear.
Why does the automation line appear only after I choose a parameter?
The automation line appears only after you choose a parameter because Resolve needs to know which curve to draw. A track can hold automation for more than one control. One generic line would not tell you whether you were looking at level, pan, EQ, dynamics, or another parameter.
Think of Automation View as a lens. The data stays in the project, but the timeline shows the curve selected through the lens. Changing the selector can make a line appear, disappear, or change shape without changing the underlying mix.
What does the parameter selector actually do?
It changes the timeline's displayed automation lane. It does not necessarily enable recording, arm a track, or change the current mixer value. Those are related operations, but they are not identical.
The 19.1 guide is useful here because it describes right-clicking a supported parameter, selecting its name from the Automation View submenu, and displaying its current curve. The wording separates viewing from writing. (Resolve 19.1 New Features Guide)
If you select a parameter and still see a flat line, consider four possibilities:
- The parameter is selected, but no automation is written in the current range.
- The automation exists outside the visible timeline range.
- The automation was written on a different track, bus, or clip.
- The selected parameter is similar to, but not the same as, the control you changed.
Use the mixer as a second source of evidence. If the control changes during playback, automation exists somewhere in the signal path. If the control does not change, the visible line may be clip gain, a different parameter, a different track, or a preview state.
Why can the timeline show a horizontal line with no keyframes?
A horizontal line can represent a default or base value. It does not necessarily mean that the parameter has written points in the current range. The line provides a surface to edit or a reference for the current level.
That is why “the line is there but it will not move” needs a different answer from “the line is missing.” In the first case, check whether you are selecting the correct line and whether the current tool is ready to write points. In the second case, check the track header and Automation View parameter first.
If the line changes color or the pointer changes when you hover, use that feedback as a hint. Do not use color as your only proof. The parameter name, track name, point locations, mixer control, and playback behavior are stronger evidence together.
What if the line is outside the current range?
Move the playhead to a time where you know the control changed, then widen the visible range if necessary. An automation move near the end of a long timeline can look absent when the current view is centered near the beginning.
You can use a known edit event as an anchor. If the music should fall under the first sentence, find that sentence in the timeline, select Fader Level on the music track or bus, and inspect around that moment. The question is not whether the track has automation somewhere. It is whether the selected parameter has data in the range you are viewing.
Does zooming fix a missing automation line?
Zooming can help when the line is too thin, the track is too short, or the timeline range is too wide. Zooming cannot reveal a parameter that is not selected.
Use zoom after the track and parameter are correct. First expand the track height. Then select the parameter. Then zoom horizontally around the expected automation range. This order makes each change answer one question.
How do I use Resolve 19.1, 20, and 21 without following the wrong tutorial?
Use the same mental model across Resolve 19, Resolve 20, and Resolve 21, but expect the menu path and surrounding layout to differ. The stable concept is track selection plus parameter selection. The relevant version differences are the Resolve 19.1 right-click route and Resolve 21 folder tracks.
What changed in Resolve 19.1?
Resolve 19.1 added a faster way to show supported track automation. The official New Features Guide says you can right-click parameters on Fairlight FX, supported Audio Unit or VST plug-ins, or mixer channel controls, then select the parameter's automation view. The curve appears on the timeline after that selection.
This helps when the parameter list is long. It does not make every plug-in control automatically visible. The control must be supported and exposed to Automation View.
If an older tutorial tells you to scroll through a large Automation View submenu, the instruction can still be conceptually correct. Resolve 19.1 adds a more direct route for supported controls. If the right-click menu is absent, the track-header selector remains the first path to check.
What changed in Resolve 20?
Resolve 20 has an official Fairlight Audio Guide that treats clip keyframes and track automation as separate parts of the audio workflow. Use the guide when you need the official names for automation tools and modes, or when you want to understand why the clip gain line and a track curve behave differently. (Resolve 20 Fairlight Audio Guide)
The practical point is not a new shortcut. A tutorial made for Resolve 20 may show the same underlying distinction even if its screenshots do not match the spacing, colors, or track controls on your screen.
What changed in Resolve 21?
Resolve 21 adds Fairlight folder tracks. Blackmagic's Resolve 21 New Features Guide says folder tracks let you select a group of tracks and combine them into a composite view. The guide also says a folder can be nested up to three levels deep.
When the folder is collapsed, the individual tracks no longer occupy their normal expanded timeline space. That can make a previously visible curve seem to vanish. Expand the folder, select the individual source track, and choose its Automation View parameter.
Resolve 21 is the current version context for this guide. Blackmagic's DaVinci Resolve 21 product page lists the application for Mac, Windows, and Linux, while the official release material identifies Fairlight folder tracks as a feature in the 21 generation.
DaVinci Resolve 19.1 made parameter selection faster by letting you right-click supported controls.
What if a tutorial says right-click but my menu has no Automation View?
Check both the Resolve version and the object you right-clicked. The 19.1 feature applies to supported parameters on Fairlight FX, supported Audio Unit or VST plug-ins, and mixer channel controls. Right-clicking empty timeline space, a clip, or an unsupported plug-in control may not show the same submenu.
If your project uses an older version, use the track header's Automation View selector. If your version is new enough but the submenu is still absent, verify that the control is part of the track or mixer object you selected. The right-click location matters.
How do I fix an automation line that is visible but will not accept keyframes?
If the line is visible but will not accept keyframes, confirm the object and parameter first. Then check the current tool, automation mode, track selection, lock state, and active time range. A visible line alone does not guarantee that the current tool is ready to write points.
Is the line a clip line or a track line?
Start here because the wrong line can look like a broken line. Select the clip and test the clip-level keyframe action on the clip gain line. Then select the track header and inspect the track automation view. The two actions target different data.
The Resolve 20 Fairlight Audio Guide describes adding clip gain keyframes with Option-click on macOS, while track automation uses Fairlight automation tools and selected track parameters. If Alt-click or Option-click does nothing, use the relevant visible menu command to separate a shortcut issue from a data issue. (Resolve 20 Fairlight Audio Guide)
Is the correct track selected?
Track automation follows the selected track. If you click a clip from another track after choosing the parameter, the timeline can make it feel as though the automation target changed. Re-select the track header and confirm its name before adding or moving points.
This is easy to miss in a busy session with dialogue, music, effects, and buses. Use track names, colors, mute, solo, and mixer labels as evidence. Do not assume the nearest waveform is the track that owns the automation.
Is the parameter enabled for automation?
Automation writing and automation viewing are separate. A parameter can be selected for display while the automation controls are not enabled for the write mode you intend to use. Open Fairlight's automation controls and confirm that the control you want is active for writing.
The Resolve 18.1 release discussion lists Fairlight automation controls for active ranges, preview, write behavior, and expanded automation editing. The exact toolbar layout can vary, but those controls determine whether a move is previewed, written, or read back. (Resolve Studio 18.1 release discussion)
Do not confuse a read state with a missing curve. A track can show an existing curve while refusing to record new changes because the automation mode is not set for the action you are attempting. Conversely, a write mode can alter data when your intention was only to inspect it. If the original mix matters, save a project copy or duplicate the timeline before experimenting with write behavior.
Is the track locked or the range restricted?
Check whether the track is locked and whether the active automation range limits the area you are trying to edit. A locked track prevents changes. An active range can constrain where automation is written or edited.
Do not disable every protection setting at once. First note the track, parameter, and time range. Unlock only what is needed, make the smallest test, and restore the protection if the project requires it. If a point appears only after you change a lock or range setting, you have identified a state problem rather than a display problem.
Is the keyboard layout affecting the shortcut?
If Alt-click or Option-click does nothing, use the menu command or a known key mapping instead of assuming the project is broken. Keyboard behavior can vary with the operating system, keyboard layout, and active tool. A Blackmagic Forum keyframe discussion includes reports of Alt-click keyframe behavior being investigated across Resolve versions and keyboard layouts.
That does not mean a non-US keyboard is inherently unsupported. It means a shortcut failure is not proof that the automation line is missing. Use a visible command to isolate input from timeline state.
The safest automation repair is to display the parameter first, then confirm the track and automation mode.
Why is my audio automation line missing on the Edit page?
The Edit page and Fairlight page do not present every audio automation workflow in the same way. A missing line on Edit does not prove that the project lost automation. For track-level automation, inspect the Fairlight page and the track header first.
The Edit page is convenient for clip-level adjustments, fades, and timeline edits. Fairlight is designed around sound editing, mixing, buses, automation, and delivery. Blackmagic's training catalog separates its Fairlight lessons into introduction to audio, sound design, mixing, recording, and audio track layers, and its mixing lesson includes automation. (Blackmagic Design training)
When should you stay on the Edit page?
Stay on Edit when your goal is a quick clip adjustment, a fade, a clip-level gain move, or a timeline edit that does not require track automation. If the line belongs to one clip, Edit may be enough.
There is no prize for opening Fairlight when one short clip needs a small correction. Use the least powerful control that solves the actual problem.
When should you switch to Fairlight?
Switch to Fairlight when you need to see track or bus automation, choose a named parameter, record mixer moves, inspect effect automation, or diagnose how several tracks interact. The page gives you a more direct view of the relationship between timeline, mixer, track, bus, and output.
If you are working through a soundtrack rather than adjusting one clip, Fairlight is the better diagnostic surface. It helps answer whether the curve belongs to the source track, a music bus, a dialogue bus, or the main output.
What if a tutorial uses a different page?
Translate the tutorial's action into its object and scope. Ask whether the instructor is changing a clip, a track, a bus, or an effect parameter. Then perform the same kind of action in the page that exposes that object in your version.
That translation skill matters more than memorizing one screenshot. Interfaces move. A named parameter and a clear signal path remain useful. If a tutorial points at a line but never names the object, pause and identify where the line sits before copying the clicks.
What if the missing line is inside a collapsed Resolve 21 folder track?
Expand the Resolve 21 folder track, select the individual child track, and then choose its automation parameter. A collapsed folder presents a composite view that saves space but can hide the detail needed to inspect one track.
Blackmagic's Resolve 21 New Features Guide says folder tracks let you select a group of tracks and combine them into a composite view. It also says the original tracks remain unchanged inside the folder and that opening the folder restores access to the individual tracks. The guide documents a maximum of three nesting levels. (Resolve 21 New Features Guide)
How do you know a folder is involved?
Look for a folder name, an indented group of tracks, or a disclosure triangle beside the folder track. If several audio tracks suddenly occupy one compact row, expand that group before searching for a missing curve.
A folder can be useful for gunshots, ambience, music stems, or dialogue layers. Its collapsed appearance is not evidence that the underlying automation was deleted. Treat it as a view change first.
Can a folder track show its children's automation?
The folder's composite view is not a substitute for selecting each child track's parameter. To inspect a specific curve, open the folder and select the child track. If the folder is nested, open the relevant level until the source track is visible.
If the project uses three levels of nesting, take the structure slowly. Open one folder, identify the child group, and open the next one. Avoid making global changes while you are only trying to inspect a line.
What if opening the folder still does not show the curve?
Use the same sequence as any other track: select the child track, expand its height, open Automation View, and choose the exact parameter. Then check whether the automation exists on the source track, a bus, or the main output.
Folder tracks change visibility and organization. They do not change the rule that each displayed curve corresponds to a selected parameter on a selected track.
How do I verify that the automation is actually written?
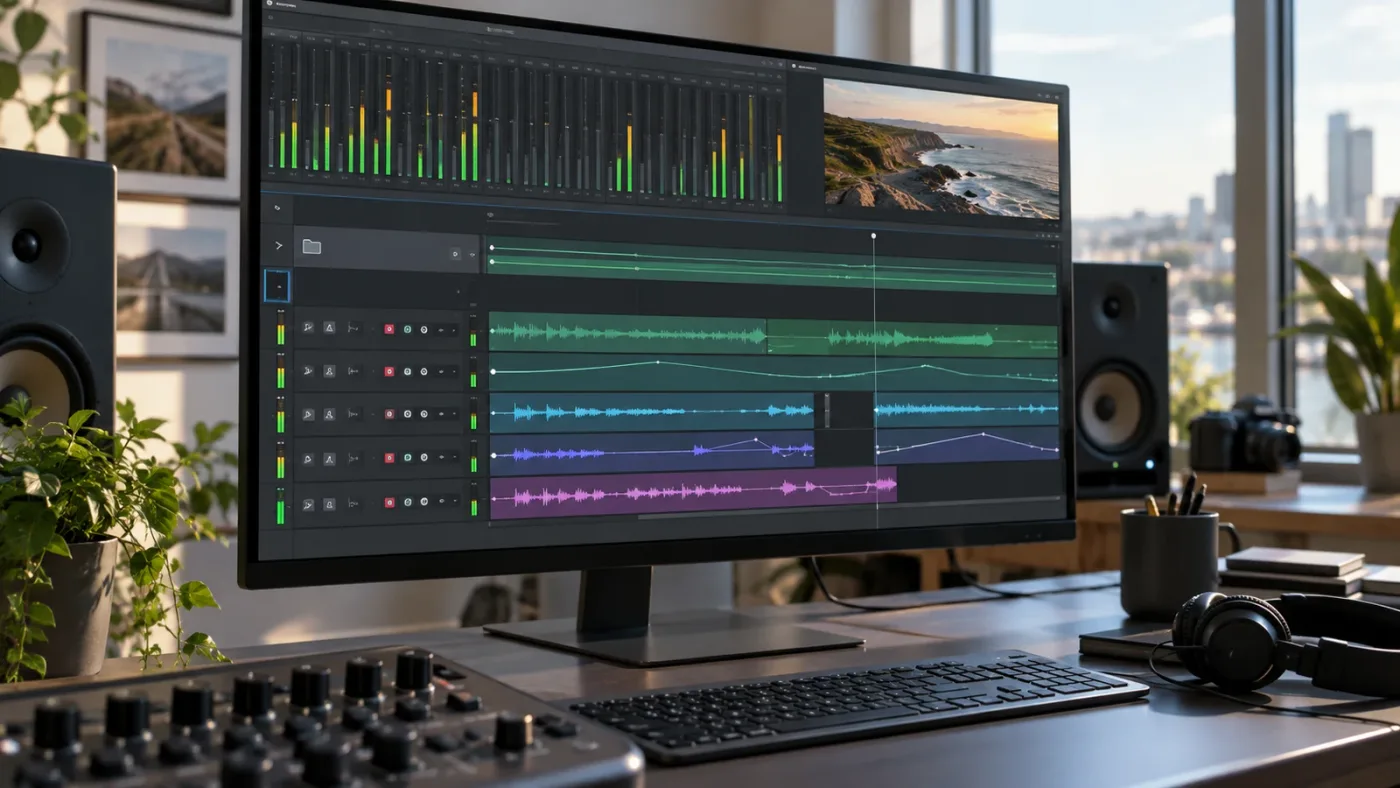
Verify written automation by selecting the exact parameter, playing through the relevant range, and watching the corresponding mixer control. A curve in the timeline is useful, but the moving control and the audible result tell you whether the data is active in the signal path.
What should you see in the timeline?
You should see a curve associated with the selected parameter. If there are keyframes, points or changes in the curve should correspond to the time range where you wrote automation. If the curve is flat, no automation may be written there, or all current values may be equal.
Do not infer too much from one color. The parameter name, track name, time range, and point locations are more useful together. If the line changes after you select Pan, that is evidence of a view change, not proof that pan automation was newly created.
What should you see in the mixer?
If you selected fader automation, watch the fader. If you selected pan automation, watch the pan control. If you selected a plug-in parameter, watch the plug-in interface or associated control. The selected display and the changing control should agree.
If the mixer moves but the timeline line is absent, revisit the Automation View selector, track height, folder state, and track selection. If the timeline line is visible but the mixer does not move, check whether you are looking at clip gain, another parameter, another track, or a preview state.
What should you hear?
You should hear the intended change in context. A music track should lower and recover if you wrote a ducking move. A pan should travel in the expected direction. An EQ or dynamics adjustment should affect the sound in a way that matches the control.
Listening is the last check, not the first. Human hearing can miss a subtle automation change, especially in a dense mix. Use visual evidence and the mixer, then listen to confirm the result.
What if the curve exists but playback sounds unchanged?
Inspect the signal path. The source may be muted, routed to a different bus, bypassed, or masked by another level control. Automation can be correct while another stage of the mix makes its effect hard to hear.
The related fix for DaVinci Resolve audio meters not moving can help when you need to check whether signal reaches the track, bus, and output you are watching. Meters answer a different question, but they can separate “the automation is not active” from “the automation is active but the signal is not where I think it is.”
Do not add more automation until you know where the signal is going. Extra points can make the original problem harder to see.
What signal-path mistakes make a correct line seem useless?
Automation is one stage in a chain. A correct curve can appear ineffective when another stage changes the level, when the source is not feeding the expected destination, or when the control you are watching is not the control you automated.
Use this simplified path as a map:
clip gain -> source track -> track effects and sends -> bus -> main output -> monitor
The actual project can contain more branches, but the questions remain the same. Where does the audio enter? Which object owns the move? Where does the audio go next? Which fader are you watching?
What if the track meter moves but the bus meter does not?
Check routing, bus assignment, mute states, and whether you are watching the intended bus. A track-level automation line cannot fix a routing path that does not feed the output you expect. If the track meter responds but a downstream meter remains silent, investigate the connection before editing the curve.
What if the bus meter moves but the main output seems unchanged?
Check the main output, monitor path, and any output-level or mute control between the bus and what you hear. The curve can be active on the bus while a later stage changes the result.
What if the source track fader moves but the sound does not get louder?
Check whether clip gain is already very low, another effect is reducing the level, the track is muted, or the sound is being masked by other material. Also confirm that the fader you see is the track receiving the clip you are listening to.
What if the sound changes but no curve is visible?
The move may be on a bus, main output, plug-in interface, or clip line rather than the source track's selected view. Follow the signal path forward and select the parameter at each stage. The missing line is then a location problem, not necessarily a data problem.
What if bypassing a plug-in changes the result?
Inspect the plug-in's exposed automation parameters and its bypass state. If the effect changes the sound but the parameter is absent from Automation View, the plug-in may not expose that control in the way you expect. Do not substitute a fader curve for an effect parameter merely because the fader is visible.
The most useful evidence is a matched pair: the curve you select and the control that changes during playback. If those two agree, the automation view is probably correct. If they disagree, keep tracing the object and parameter.
Should I use clip gain, track automation, a ducker, or a bus?
Choose clip gain for local corrections, track automation for deliberate time-based control, a ducker for repeatable dialogue-driven reduction, and a bus when several related tracks should move together. The missing line is easier to fix when the chosen tool matches the job.
| Situation | Best starting point | Why | Where to inspect the line |
|---|---|---|---|
| One word is too quiet | Clip gain | The change stays with one clip | Inside that clip |
| One interview track needs a few rides | Track fader automation | The move can span multiple clips | The interview track's Fader Level view |
| Music should drop under dialogue | Ducker or music track automation | The dialogue can drive a repeatable reduction, or you can draw the move | The music track, music bus, or target effect |
| Several music stems should rise together | Music bus automation | One bus move controls the group | The music bus's Fader Level view |
| A sound effect needs a changing filter | Plug-in automation | The parameter itself changes over time | The named plug-in parameter |
| A whole output needs a final fade | Main or bus fader automation | The fade belongs at the chosen output stage | The selected bus or main output |
When is clip gain the cleanest choice?
Use clip gain when the reason for the change belongs to the recording itself. A clipped consonant, a low sentence, an uneven take, or a loud breath can be corrected locally. You can then mix the track without carrying a large set of points for every small correction.
Clip gain is also easier to hand off because the change stays with the clip. But it can become tedious when the same musical or dialogue relationship repeats across a long sequence. If the same decision needs to move whenever the edit changes, put it at the track or bus level where it can be inspected as one idea.
When is track automation the cleanest choice?
Use track automation when the move expresses a mix decision. A dialogue ride, music lift, sound-effect swell, and bus fade are mix decisions. Put the move at the track, bus, or main stage that best represents the decision.
The price is visibility. You must know which parameter is selected, which track owns the curve, and which automation mode is active. That is why the line can feel missing even when the mix is behaving correctly.
When is a ducker the cleanest choice?
Use a ducker when the relationship is repeatable and driven by another track. Dialogue can control music reduction without drawing every dip manually. The target track still has its own mix controls, so listen and adjust the duck amount, recovery, and timing to suit the edit.
For a manual music bed with unusual dramatic timing, written automation may be easier to shape. For recurring dialogue coverage, a ducker can reduce repetitive work. The official dialogue-ducking workflow is the natural next read if that is the problem behind your missing line.
When is a bus the cleanest choice?
Use a bus when the same move should affect multiple related tracks. A music bus can control several stems together. A dialogue bus can keep several microphones moving as one group. A main output can carry a final fade that belongs to the complete mix.
The bus choice changes where you look for the line. If you wrote the move on the bus, the source track will not show that curve. Follow the signal path instead of searching every row at random.
Is an app that helps you while using DaVinci Resolve useful for this fix?
An app that helps while DaVinci Resolve is open can be useful when the problem is locating the correct control. It should complement the official manual and the signal-path reasoning in this guide. An assistant can help you find a selector. It cannot decide whether the change belongs on a clip, track, bus, or output unless you describe the intended result clearly.
Blackmagic's official training remains the authority for structured Fairlight learning. Its training page offers lessons on introduction to audio, sound design, mixing, recording, and audio track layers, including a mixing lesson that covers automation. Videos can help when you need to see one workflow. Community discussions can expose version-specific edge cases. The trade-off is that a video or forum answer may assume a different Resolve version, page layout, track structure, or plug-in.
Grant Petty, Blackmagic Design's CEO, described Fairlight improvements this way: “These features allow many more people to add professional audio quality to their work.” (Grant Petty on Fairlight audio post production)
That quote describes the purpose of the audio tools. It does not mean every automation problem has one universal button. The useful learning route depends on the job.
| Learning route | Best fit | Limitation for a missing-line problem |
|---|---|---|
| Blackmagic official training | A structured Fairlight curriculum | You still need to map the lesson to your project |
| YouTube tutorial | Seeing one workflow demonstrated | The version, screen layout, and assumptions may differ |
| Community forum | An unusual behavior or version edge case | The answer may lack your project context |
| A Resolve reference guide | Exact terminology and supported workflows | It explains the system but cannot see your screen |
| An on-screen assistant | Finding a control while the project is open | It does not replace understanding clip, track, bus, and output scope |
If you want help locating a control in the project that is already open, TryUncle is an on-screen assistant for DaVinci Resolve on Mac and Windows. Uncle can point toward the relevant control while you work. Treat that as contextual help, not as a reason to skip the distinction between clip gain and track automation.
Other tools solve different problems. Sottocut presents itself as a local-first assistant editor for an open Resolve project. CutAgent presents AI agents that coordinate editing operations. Eddie describes importing clips and timelines, creating rough cuts, and sending edits back to Resolve. PremiereCopilot is positioned as a text-to-edit assistant for Adobe Premiere Pro rather than a Fairlight tutor. Their current public descriptions are linked in the source list: Sottocut, CutAgent, Eddie AI for DaVinci Resolve, and PremiereCopilot.
What should I do if the audio automation line is still not visible?
If the line is still not visible, isolate the problem with a small test track and follow the signal path from clip to track to bus. A clean test removes project clutter. It tells you whether the problem is visibility, selection, routing, or missing data.
How do I make a clean test?
- Duplicate the timeline or create a temporary timeline so the test cannot damage the main mix.
- Add one ordinary audio clip to one audio track.
- Open Fairlight and expand the track so the header is readable.
- Select the track and choose Fader Level in Automation View.
- Create a small, obvious fader move in a short time range using the current automation controls.
- Play the range and watch the mixer fader.
- Switch Automation View to Pan and confirm that the displayed curve changes to the selected parameter view.
- Return to Fader Level and confirm that the original fader move is still represented.
The test is not meant to create a finished mix. It proves the relationship between track selection, parameter selection, curve display, and mixer behavior. If the test works, the original project has a track, parameter, bus, folder, routing, plug-in, or range difference. If the test fails, check the Resolve version, track lock, automation mode, and input method before returning to the project.
How do I compare the test with the original project?
Compare one variable at a time.
| Test comparison | First thing to inspect |
|---|---|
| Same track type, different project | Project structure and routing |
| Same project, different track | Track selection and lock state |
| Same track, different parameter | Automation View |
| Same parameter, different time range | Timeline zoom and active range |
| Same visible curve, different sound | Bus routing, mute, bypass, and output |
Do not change the audio clip, track routing, plug-in chain, and automation mode at the same time. If the line appears after a five-change experiment, you will not know which change fixed it.
What if the test works but the original automation is gone?
Look on neighboring tracks, buses, and main outputs, then inspect earlier project versions or backups if the data truly appears absent. A curve that cannot be found after selecting every relevant parameter may be a data-location problem rather than a display problem.
Avoid flattening or bouncing the audio as a first response. Those actions can make a result audible, but they can also remove the flexibility needed to identify the original automation. Preserve the project structure until you know where the data lives.
What if the project came from another editor?
Imported timelines can place audio clips, tracks, buses, and effect parameters into a different structure. Start with clip gain and track fader checks, then inspect routing. Do not assume that an imported visible volume line represents the same type of automation as a native Fairlight project.
If the project uses an interchange format, keep the original file and imported copy separate while you diagnose.
What is the shortest reliable fix for this Resolve problem?
Open Fairlight, select the correct track, expand its height, choose the exact parameter in Automation View, and play through the range where the automation should exist. If the line remains absent, check whether the automation belongs to the clip, another track, a bus, or a collapsed Resolve 21 folder.
Use this compact checklist:
- Fairlight page open.
- Correct track selected.
- Track height expanded.
- Folder expanded if Resolve 21 is in use.
- Automation View set to Fader Level, Pan, or the exact plug-in parameter.
- Timeline range includes the expected points.
- Track is unlocked.
- Automation mode is appropriate for reading or writing.
- Mixer control confirms the selected curve.
- Bus and main output checked if the source track is clean.
If you remember one thing, remember this: the line is a view of a parameter, not a universal audio-volume overlay. Choose the object and parameter first.
For related audio diagnosis, see DaVinci Resolve Fairlight Audio Scrub Mode when you need to navigate and hear a timeline while inspecting sound. If the missing line is really a music-under-voice problem, use the background-music ducking workflow.
The verdict is straightforward: if DaVinci Resolve's audio automation line is not visible, select the right track and the right parameter before assuming the automation is missing. Clip gain, track fader automation, plug-in automation, bus automation, and folder views are different layers. Once you identify the layer, the line has somewhere specific to appear.
Frequently asked questions
- Why is the DaVinci Resolve audio automation line not visible?
- The track is probably showing the wrong automation parameter, or you are looking at a clip gain line instead of track automation. Select the audio track, open its Automation View menu, and choose Fader Level, Pan, a plug-in parameter, or the control you wrote.
- How do I show the audio automation line in DaVinci Resolve?
- Go to Fairlight, select the track, expand its height if needed, open the automation selector in the track header, and choose the parameter you want to display. In Resolve 19.1 and later, you can also right-click a supported mixer or plug-in control and choose its automation view.
- Is the clip volume line the same as the audio automation line?
- No. The clip gain line changes one clip, while the track automation line controls a track parameter such as fader level, pan, or a supported plug-in control over time.
- Why is the DaVinci Resolve automation line gray?
- A gray horizontal line can be the clip gain line before keyframes are added, or a track parameter that is displayed but not currently written. Confirm the selected parameter, add or record automation, and check the track's automation mode.
- Does DaVinci Resolve 21 change how audio automation is displayed?
- DaVinci Resolve 21 adds Fairlight folder tracks that can collapse several tracks into a composite view. Expand the folder and select the individual track before looking for its automation selector.
Sources
- DaVinci Resolve Fairlight overview
- DaVinci Resolve 20 Fairlight Audio Guide
- DaVinci Resolve 19.1 New Features Guide
- DaVinci Resolve 21 New Features Guide
- DaVinci Resolve 21 product page
- Blackmagic Design DaVinci Resolve training
- DaVinci Resolve Studio 18.1 release discussion
- Blackmagic Forum keyframe discussion
- Grant Petty on Fairlight audio post production
- Sottocut for DaVinci Resolve
- CutAgent for DaVinci Resolve
- Eddie AI DaVinci Resolve workflow
- PremiereCopilot
Learn by doing, not watching
Stop translating tutorials to your timeline.
TryUncle stays beside Resolve on Mac and Windows. When you ask, Uncle sees your screen and points at the exact control you need. No hunting through tabs, timestamps, or mismatched tutorials.
Meet TryUncleKeep reading
 FixesJul 25, 202627 min read
DaVinci Resolve Audio Meters Not Moving: Every Fix
DaVinci Resolve's audio meters frozen or flat during playback? Here's every real cause, in check order: routing, patching, mute, and monitor style.
 GuidesJul 25, 202633 min read
DaVinci Resolve Fairlight Audio Scrub Mode Tutorial (Full Guide)
Turn on Fairlight audio scrub mode in DaVinci Resolve with Shift-S, use JKL and Loop Jog to hear audio while scrubbing, and fix it when it goes silent.
 GuidesJul 30, 202638 min read
How to Duck Background Music Under Dialogue in DaVinci Resolve
Duck background music under dialogue in DaVinci Resolve with Ducker, a Fairlight sidechain compressor, or manual keyframes, plus exact settings.