
Learn / DaVinci Resolveupdated for DaVinci Resolve 21.1 (September 2026)
DaVinci Resolve Render Range Only Exports Part Timeline? Fix It
Quick answer
When DaVinci Resolve render range only exports part timeline, the Deliver page is usually set to In/Out Range with old timeline marks. Switch the range to Entire Timeline, or clear the timeline In and Out points with Mark > Clear In and Out, then remove and re-add the render-queue job.
I start with the range, not the codec. If DaVinci Resolve render range only exports part timeline, the software is usually following an old In and Out range. This mistake creates a lot of unnecessary panic because the edit is still intact. The export controls are simply pointing at a smaller section than you intended.
As of September 2026, the current release is DaVinci Resolve 21.1. The fix below uses the current Deliver workflow and applies to the two decisions that matter most: Entire Timeline versus In/Out Range, and Single Clip versus Individual Clips (source: Blackmagic Design’s DaVinci Resolve 21.1 release announcement).
What is the fastest fix when DaVinci Resolve render range only exports part timeline?
The fastest fix is to select the correct timeline, set the Deliver range to Entire Timeline, clear any active timeline In and Out points, and add a new render job. If you actually want a section, keep In/Out Range and reset the points deliberately instead of reusing the old job.
Do this first:
- Go to the Edit page and open the timeline you intend to export.
- Go to the Deliver page and check the timeline name in the timeline selector.
- In Render Settings, choose
Single Clipif you want one continuous movie. - In the range control above the Deliver timeline, choose
Entire Timeline. - If a gray or orange range remains, activate the timeline and choose
Mark > Clear In and Out. - Remove the old item from the Render Queue.
- Click
Add to Render Queueagain, then start the new job.
The Deliver page is the part of DaVinci Resolve designed for final file output. Blackmagic describes it as the place for encoding controls and a render queue that can hold multiple jobs, so a range error is normally fixed in the Deliver setup rather than by changing the edit itself (source: Blackmagic Design’s DaVinci Resolve product page).
DaVinci Resolve exports the selected range stored in the Deliver job, not the portion of the timeline you can currently see.
That distinction explains the most confusing version of this problem. You can zoom out and see a two-hour timeline, but the job can still be configured to render from 00:12:00 to 00:18:00. A wider timeline view does not reset the range.
If the exported file is still short after this reset, don’t keep changing codecs. Check the next four branches in order. They cover the cases where the range setting is correct but the job still describes a different timeline, a different output unit, or an earlier range.
Why is DaVinci Resolve exporting only the section between old In and Out points?
DaVinci Resolve exports only the section between old In and Out points when the Deliver page is set to In/Out Range. Timeline In and Out points are persistent editing marks, so an old selection can quietly become the range for a later export.
This happens after a perfectly normal workflow. You export a teaser, set an In point near the middle of the timeline, set an Out point a minute later, and render. Later, you return to the same project and assume the next export will use the whole timeline. The marks are still there. If the range control still says In/Out Range, Resolve is doing what you asked earlier.
Look at the Deliver timeline ruler before you add the job. You should be able to identify the active range and compare its start, end, and duration with the output you expect. The official Resolve documentation describes the range workflow as selecting a portion of the timeline with In and Out points, then adding that setup to the Render Queue (source: DaVinci Resolve’s official reference manual).
If you see a range but need a full export, use either of these resets:
- Choose
Entire Timelinein the Deliver range control. - Activate the timeline, choose
Mark > Clear In and Out, then chooseEntire Timelineagain.
The second reset is safer when you plan to create another partial export later. It removes the hidden state instead of leaving a range in the timeline and relying on the dropdown to override it.
On macOS, the shortcut documented in the DaVinci Resolve Editors Guide is Option-X. On Windows, the equivalent is Alt-X (source: DaVinci Resolve Editors Guide). If the shortcut appears to do nothing, move the pointer over the timeline first. Resolve commands can act on the source viewer, the timeline, or another focused panel depending on which area is active.
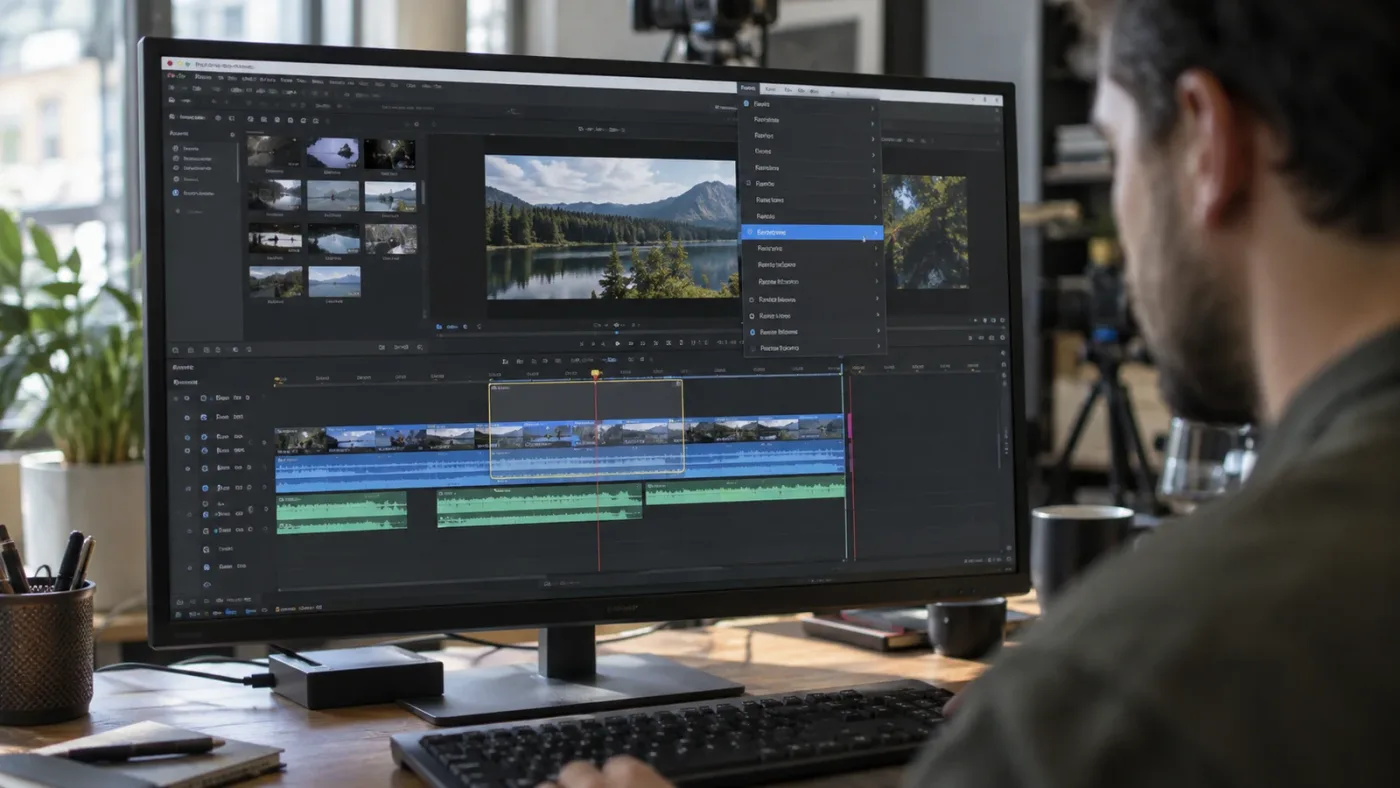
How do I export the entire timeline after a render range?
To export the entire timeline after using a render range, set the Deliver range to Entire Timeline, clear the timeline In and Out points, and rebuild the Render Queue job. Changing the dropdown after a job already exists does not update that older job.
Use this exact sequence when the file keeps coming out short:
- On the Edit page, click inside the main timeline.
- Open the
Markmenu and selectClear In and Out. - Move to Deliver and confirm the intended timeline is selected.
- Select
Single Clipunder the render output choice. - Select
Entire Timelinein the range choice. - Check that the displayed duration matches the full timeline.
- Delete the previous queue item.
- Add a new queue item and start that new item.
The reason for rebuilding the job is simple. A Render Queue entry is a snapshot of the render settings you added, including its range. A Blackmagic forum explanation of range rendering says that jobs already placed in the queue remember the In and Out range used when they were added (source: Blackmagic Forum discussion of Render In to Out).
An old timeline In point and Out point can make a full export look broken when the render mode is In/Out Range.
Don’t judge the setup by the file name. A stale queue item can keep the same name and destination while pointing to the old range. Delete it, create a new item, and inspect the new duration before rendering.
If you need both a short excerpt and a full master, create them as two separate jobs. Set the excerpt range, add that job, clear or change the range, set Entire Timeline, and add the master job. The queue is meant to hold multiple output jobs, and separate entries make the intended range visible instead of forcing one job to serve two purposes (source: Blackmagic Design’s Deliver and render queue overview).
How do I set an exact render range in DaVinci Resolve?
To set an exact render range, mark the In and Out points on the timeline, choose In/Out Range on the Deliver page, verify the displayed duration, and add the job only after those checks pass. The I and O keys set the points when the timeline has focus.
Here is the repeatable partial-export workflow:
- Open the timeline on the Edit page.
- Place the playhead on the first frame you want in the file.
- Press
Ito mark the timeline In point. - Place the playhead on the final frame you want in the file.
- Press
Oto mark the timeline Out point. - Go to Deliver and choose
Single Clip. - Choose
In/Out Range. - Read the start, end, and duration values shown around the Deliver timeline.
- Scrub the range once to verify the first and last images.
- Click
Add to Render Queue.
Blackmagic describes In and Out points as a standard way to select a range for editing and output. Its keyboard documentation also identifies In and Out points as a core part of the editing workflow (sources: DaVinci Resolve Editors Guide and DaVinci Resolve keyboard information).
The focus detail matters. If the source viewer is active, I and O can mark a range inside the source clip instead of marking the timeline. Click an empty area of the timeline ruler or a timeline clip before using the keys. Then look for the points on the timeline itself.
If your range starts or ends at an edit point, zoom in enough to verify the playhead position. Resolve’s Out point behavior includes the frame at the point where you set it, as discussed by Blackmagic forum contributors in a thread about unexpected frames at an Out point (source: Blackmagic Forum discussion of I/O points). That is why a range can be one frame longer than someone expects when the Out point is placed on the first frame of the next shot.
For a full-timeline master, don’t approximate the first and last frame with manual points. Clear the points and choose Entire Timeline. That removes an entire class of off-by-one and stale-range mistakes.
Why does the Deliver page still export part of the timeline after I clear the range?
If the Deliver page still exports part of the timeline after you clear the range, the most likely cause is a stale Render Queue job or a different timeline selected in Deliver. Check the queue entry and timeline selector before changing any project settings.
Did you change the existing job?
The job in the Render Queue does not become a live view of your current timeline. If you added it while In/Out Range was active, it can continue to render that range after you clear the marks. Remove the job and add it again.
Did you select the intended timeline?
DaVinci Resolve projects can contain several timelines with similar names. The Deliver page has its own timeline selection context, so verify the title and duration there. If the selected timeline is shorter, the export may be correct for that timeline even though it is not the one you meant to deliver.
Did the timeline focus move to a source viewer?
If you press I or O while the source viewer has focus, you can create source marks and think you created timeline marks. Return to the Edit page, focus the timeline, clear the old marks, and set them again. The editor’s guide distinguishes source-clip ranges from timeline ranges, which is why the same keys can appear to behave inconsistently (source: DaVinci Resolve Editors Guide).
Did you open a compound or multicam timeline?
If you opened a compound clip or multicam clip in its own timeline, back out to the main timeline before creating the final Deliver job. A Blackmagic forum response from a DaVinci Resolve product manager advises returning to the main timeline when the Deliver controls are being used from the wrong nested context (source: Blackmagic Forum discussion of rendering a timeline).
These checks are faster than changing the codec, frame rate, GPU mode, or cache settings. Those controls affect how the selected material is encoded or processed. They do not change which timeline range the queue item contains.
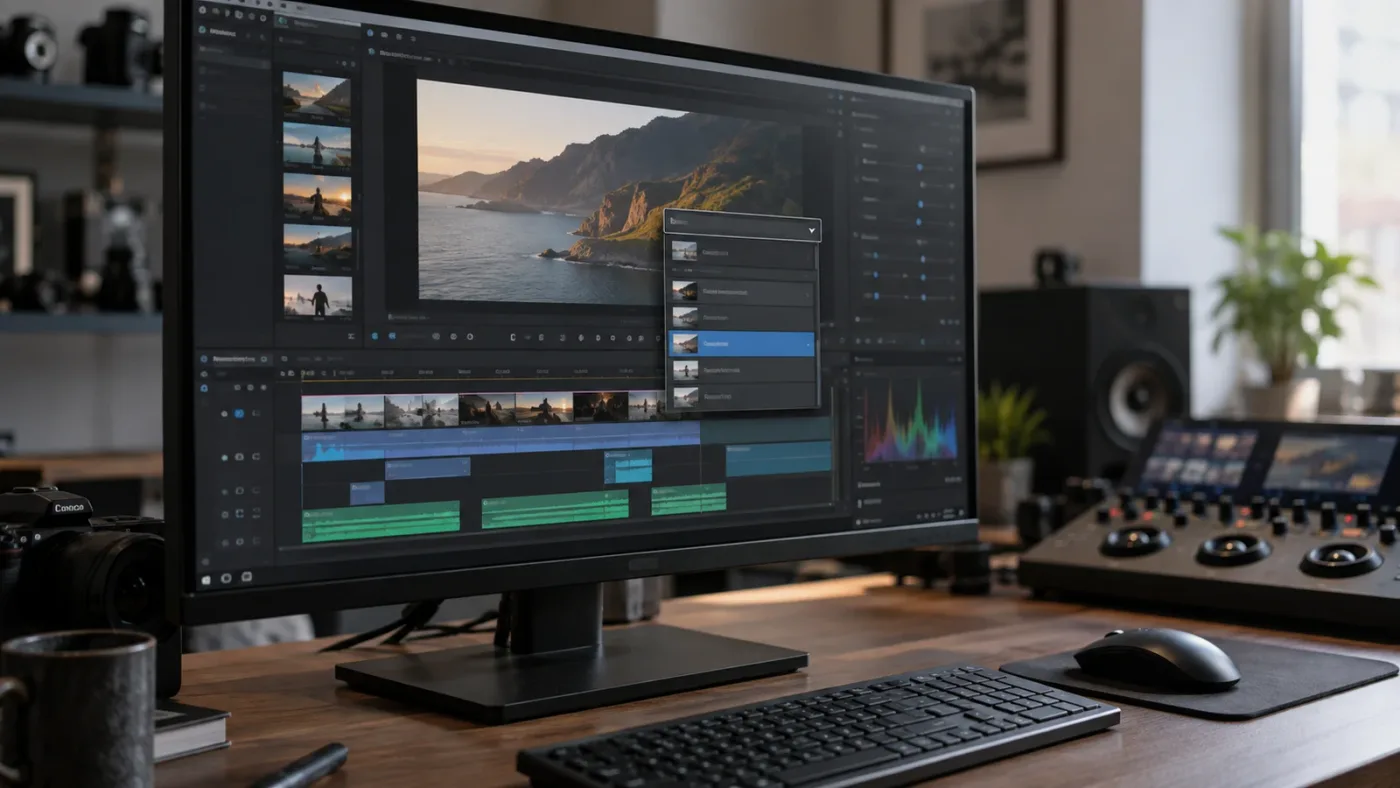
Is DaVinci Resolve set to Individual Clips instead of Single Clip?
If DaVinci Resolve is set to Individual Clips, the output is a set of files for clips in the chosen range, not one continuous movie. Choose Single Clip when the expected result is one file containing the full timeline or one continuous In and Out selection.
This setting creates a different kind of partial-export confusion. You may see files for some clips and assume later timeline material disappeared. In reality, Resolve is honoring the output unit you selected. The official Deliver documentation defines Single Clip as outputting the selected timeline range as one media file and Individual Clips as outputting source clips separately (source: DaVinci Resolve 21.1 Reference Manual).
Use this decision table:
| What you need | Render as | Range | What to check |
|---|---|---|---|
| One finished master from the whole edit | Single Clip | Entire Timeline | The duration matches the full timeline |
| One excerpt for review | Single Clip | In/Out Range | In and Out points sit at the intended frames |
| Separate files for selected source clips | Individual Clips | In/Out Range or edit-point range | The number and names of output files |
| Several excerpts from one timeline | Separate Single Clip jobs | One range per job | Each job was added after its range was set |
| A round-trip of source material | Individual Clips | The required edit-point range | Source clip boundaries and timecode |
In the Individual Clips case, the word “range” can be misleading. You are not asking for one continuous movie between two timeline positions. You are asking Resolve to process clips within that selection as separate outputs. A 2025 Blackmagic forum discussion also notes that, in Individual Clips mode, In and Out points can be constrained to edit points, which is another reason a chosen range may not behave like a continuous export (source: Blackmagic Forum discussion of Delivery In/Out range behavior).
Individual Clips changes the unit of export from one timeline movie to separate source-clip files.
For most “my timeline exported only part” reports, Single Clip is the correct diagnostic setting. It removes the possibility that the output folder is showing a collection of clip files that only appears incomplete.
Did I add the wrong job to the Render Queue?
You added the wrong job if its range, timeline, output mode, or destination was different when you clicked Add to Render Queue. A Render Queue entry must be rebuilt after any of those choices change.
Use a simple queue hygiene rule:
- Set the timeline.
- Set
Single CliporIndividual Clips. - Set
Entire TimelineorIn/Out Range. - Verify the duration.
- Set the filename and destination.
- Add the job.
- Do not alter the intended range and assume the old item will follow it.
This order prevents a common mistake: changing the range after the job is already in the queue, then starting the old item. The Blackmagic product page describes the Deliver page as a place to create multiple jobs and batch-process them, while the forum guidance explains that an already queued range remains associated with its job (sources: Blackmagic Design’s Deliver overview and Blackmagic Forum’s Render In to Out discussion).
If you need to preserve several ranges, label the filenames clearly. For example, use project-review-01, project-review-02, and project-master. This is workflow advice, not a Resolve requirement, but it makes it harder to start a short review job when you meant to render the master.
A Render Queue job keeps the range that existed when you added the job.
The queue is useful because it stores multiple delivery decisions. It is also why you need to treat each queue item as a saved instruction rather than as a preview of whatever you last clicked in the timeline.
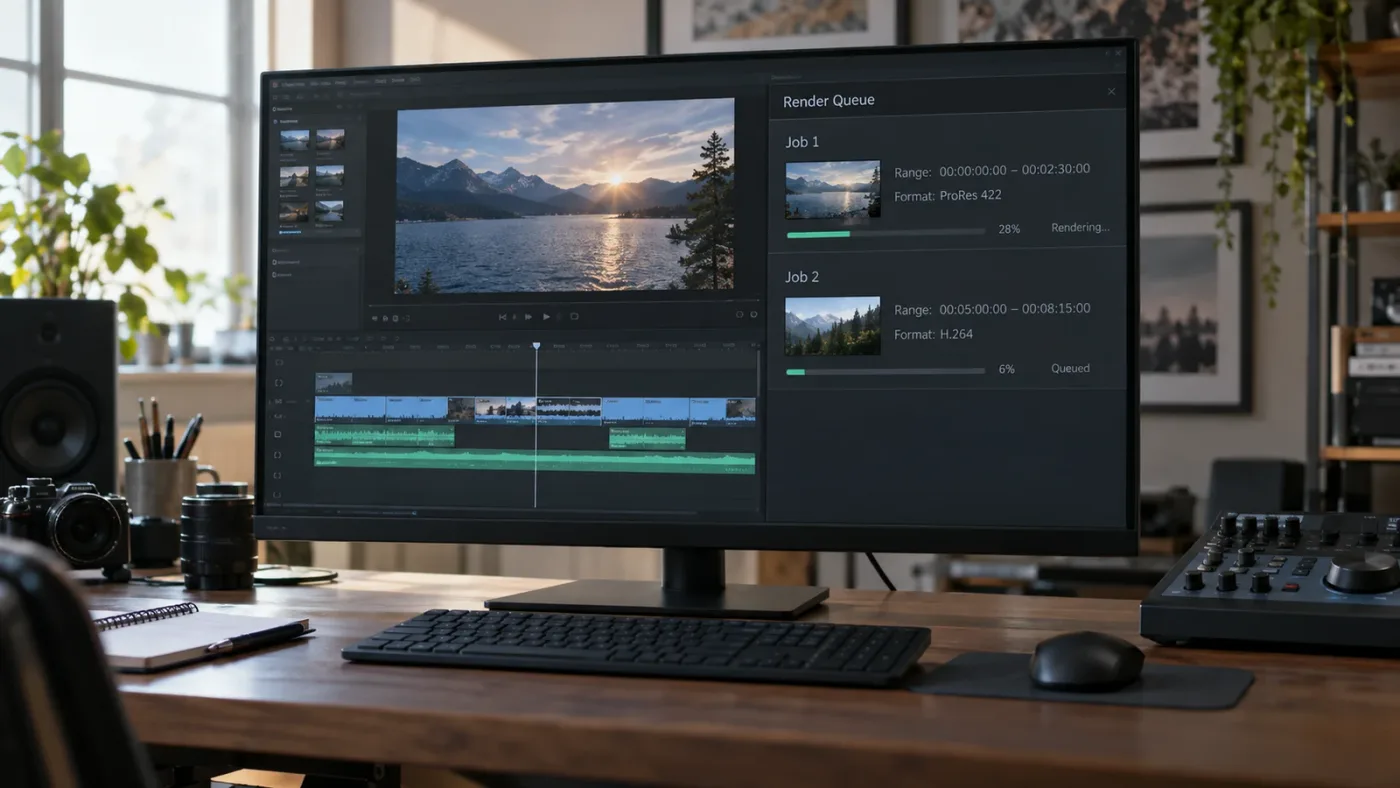
Am I confusing a render cache with a final export?
If you are watching a colored cache bar in the Edit page instead of a file in the Render Queue, you are working with render cache, not a final timeline export. Render cache improves playback of complex effects; the Deliver page creates the output file you send to a client or platform.
This distinction matters because the words “render” and “range” appear in several Resolve workflows. A cached section can finish while the final export still uses an old In and Out range. Conversely, a Deliver export can succeed while the timeline still shows uncached effects during playback.
Blackmagic’s training material describes Render Cache as a performance tool for processing clips and effects that cannot play in real time. It describes the Deliver page separately as the place to output the finished program (sources: DaVinci Resolve Beginners Guide and Blackmagic Design’s Resolve product page).
Use the right workflow for the job:
- Need smoother playback while editing? Use Render Cache.
- Need a file from one section for review? Use Deliver with
Single ClipandIn/Out Range. - Need a full master? Use Deliver with
Single ClipandEntire Timeline. - Need files for individual source clips? Use Deliver with
Individual Clips.
Do not try to fix a Deliver range problem by deleting all cache files. Cache cleanup may change playback behavior, but it does not repair the range saved in a Render Queue job.
What should I check in DaVinci Resolve 21.1 before rendering?
In DaVinci Resolve 21.1, check the selected timeline, output unit, range mode, visible In and Out points, displayed duration, and queue entry before starting the render. The 21.1 release is current as of September 2026, and Blackmagic’s release announcement says it is available as a free download with new batch-rendering support through AI assistant integrations, but that new automation does not remove the need to verify a range.
Grant Petty, Blackmagic Design's CEO, described the release this way: "It's a huge update and we can't wait to see what our customers create with these new tools." (source: Blackmagic Design's DaVinci Resolve 21.1 announcement)
The quote is about the release as a whole, not a promise that an assistant will diagnose every range error. For this problem, the dependable check is still the visible Deliver setup.
Run this five-point inspection:
| Check | Correct for a full master | Warning sign |
|---|---|---|
| Timeline | Intended main timeline | A compound, multicam, or similarly named timeline |
| Render as | Single Clip | Individual Clips when you expect one movie |
| Range | Entire Timeline | In/Out Range with old marks |
| Duration | Matches the intended full timeline | Matches only a short section |
| Queue | Newly added after the checks | Older job created before the reset |
If all five checks are correct and the output is still short, render a tiny test from the same job and compare the file duration with the Deliver duration. Then inspect the timeline selector and output destination again. Avoid changing several settings at once because you’ll lose the clue that identifies the original problem.
Why does an Out point sometimes include one extra frame?
An Out point can include the frame on which it is placed, so an Out point set on the first frame of the next shot can make the export appear to include one extra frame. Move the Out point back one frame when the boundary must stop before that image.
This is separate from the “only part of the timeline” problem, but it often appears during the same investigation. A user sees an unexpected frame at the end, changes the range, and then accidentally creates a much shorter job. Treat the two issues separately:
- A file that is dramatically too short usually has the wrong range, timeline, or queue job.
- A file that is exactly one frame longer usually has an Out point on the boundary frame.
The Blackmagic forum discussion on I/O behavior explains that the Out point includes the frame at the playhead and suggests moving back one frame when that frame should not be included (source: Blackmagic Forum discussion of I/O points).
For a clean boundary, zoom into the edit, place the playhead on the last desired frame, and press O. Then inspect the last image in the Deliver viewer before adding the job. If you are making a full master, use Entire Timeline instead of recreating the endpoints by hand.
What is the best way to learn DaVinci Resolve when a tutorial does not match my screen?
The best way to learn DaVinci Resolve for a stable export rule is Blackmagic’s own manual and training material, followed by practice on your project; a screen-aware assistant is useful when the obstacle is locating the exact control in the current interface. A video tutorial can show the idea, but it may use a different version, page focus, timeline, or output mode.
The free official material wins when you want a structured curriculum. YouTube channels such as Casey Faris win when you need a visual walkthrough. ChatGPT or Claude can explain the terminology when you can describe the state clearly. Tools in the Resolve assistant and editing-agent category solve different problems: Sottocut describes proposal-gated editing and rendering inside Resolve, Eddie AI describes pulling clips and timelines into its editor and sending cuts back, and CutAgent describes handing editing tasks to an agent. PremiereCopilot is built for Adobe Premiere Pro, not for this Resolve export control (sources: Sottocut, Eddie AI’s DaVinci Resolve workflow, CutAgent, and PremiereCopilot).
TryUncle is the on-screen assistant for DaVinci Resolve on Mac and Windows. Ask in plain words and Uncle points at the exact control on your screen.
For this specific fix, you don’t need a new tool. But if you’re already working in Resolve and the problem is that a tutorial’s “range” instruction doesn’t match the controls in front of you, you can check TryUncle for the on-screen Resolve assistant on Mac and Windows. The assistant should point you toward the relevant control; you still decide whether the job should be a full timeline, an In/Out range, a single clip, or individual clips.

Which decision fixes my DaVinci Resolve partial export?
The right fix depends on whether the file is too short because of a range, a queue entry, a timeline selection, or an output mode. Use the table below instead of repeating the same export.
| What you see | Most likely cause | Fix |
|---|---|---|
| Export stops at an earlier timecode | In/Out Range is active | Choose Entire Timeline, clear In and Out, and rebuild the job |
| Deliver duration is already short | Wrong timeline or old marks | Select the main timeline and reset the range |
| Several short files appear | Individual Clips is selected | Choose Single Clip for one continuous file |
| You changed the range but output did not change | Old job is still queued | Delete the old job and add a new one |
| One unwanted frame appears at the end | Out point is on the boundary frame | Move the Out point back one frame |
| Playback cache finishes but no final file is right | Cache was mistaken for delivery | Use the Deliver page and verify its queue job |
| Range controls behave strangely in a nested edit | Compound or multicam timeline is active | Return to the main timeline before adding the job |
Clearing the timeline range and re-adding the job is the safest reset for a partial export.
The sequence is deliberately boring. That’s a strength. It gives you a known state before you spend time waiting for another render.
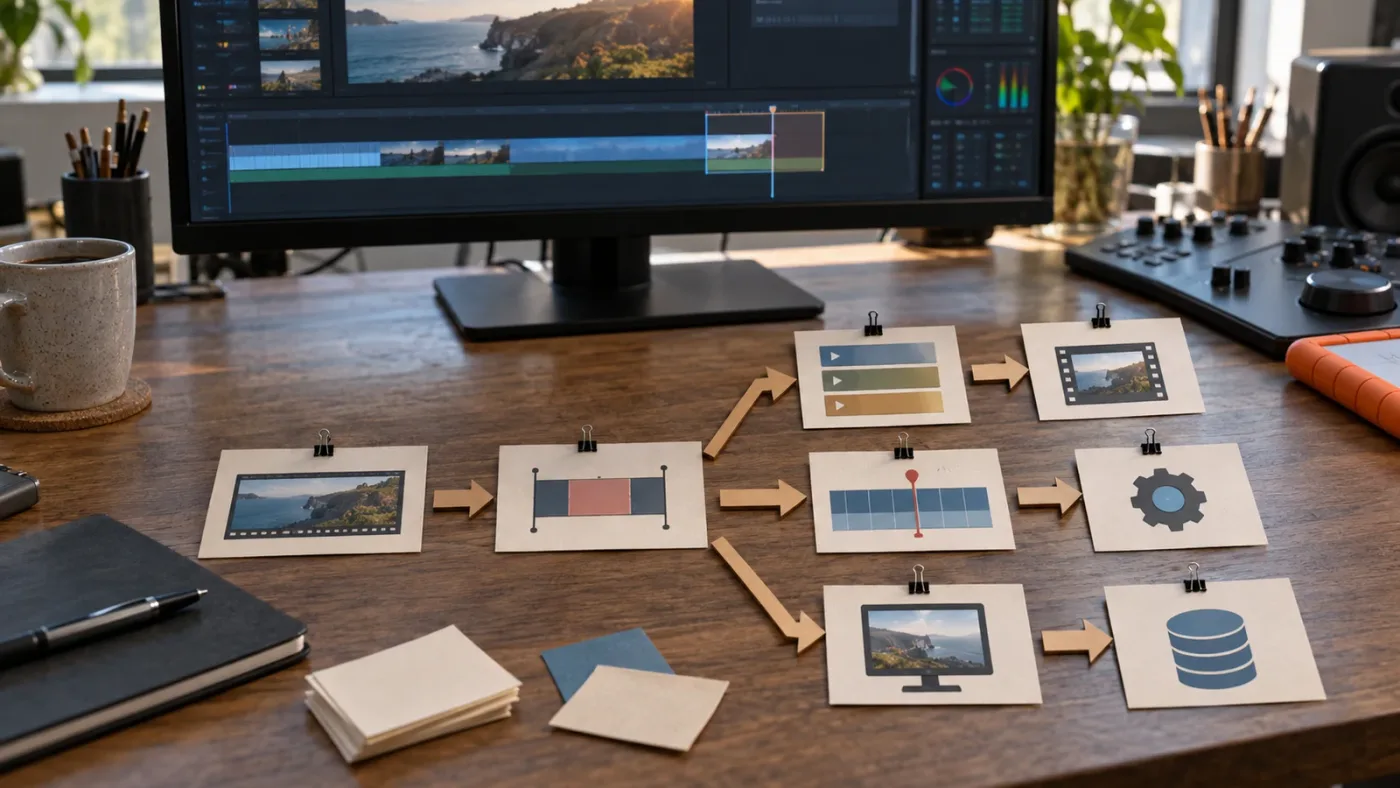
What should I do if the fix still fails?
If the export is still incomplete after a fresh Single Clip job with Entire Timeline, verify that the Deliver page duration matches the intended timeline before rendering. If the Deliver duration is correct but the file is not, the problem has moved from range selection to encoding, media, or a version-specific issue.
At that point, record these details before asking for help:
- DaVinci Resolve version and build number.
- macOS, Windows, or Linux.
- Free Resolve or Resolve Studio.
- Selected timeline name.
Single CliporIndividual Clips.Entire TimelineorIn/Out Range.- Deliver duration and exported file duration.
- Whether the job was added before or after clearing the range.
- Whether the timeline is a compound or multicam context.
This list gives another editor enough information to distinguish a range problem from a delivery problem. It also stops support conversations from beginning with “it exports only part” when the real issue is that the queue contains the wrong timeline.
The two nearby TryUncle guides can help with adjacent export decisions: DaVinci Resolve export only selected clips covers clip-selection output, and DaVinci Resolve export source timecode versus timeline covers the timecode choice that comes after the range is correct.
When the Deliver duration is right, the timeline is right, and the fresh queue job is right, start the render. If the duration is wrong before you click Start Render, stop there. Resolve is telling you the problem is still in the range setup.
Frequently asked questions
- Why is DaVinci Resolve exporting only part of my timeline?
- The Deliver page is probably using In/Out Range, so Resolve is exporting the timeline section between the active In and Out points. Choose Entire Timeline or clear the points before adding the job again.
- How do I clear the render range in DaVinci Resolve?
- Activate the timeline, choose Mark > Clear In and Out, or press Option-X on macOS or Alt-X on Windows, then confirm that the Deliver page is set to Entire Timeline.
- How do I render only part of a timeline in DaVinci Resolve?
- Set a timeline In point with I, set a timeline Out point with O, choose In/Out Range on the Deliver page, and add a new job to the Render Queue.
- Why does DaVinci Resolve keep exporting the old range?
- An existing Render Queue job keeps the range that was present when the job was added, so delete the old job and add a fresh job after changing the In and Out points.
- Should I use Single Clip or Individual Clips for a full timeline export?
- Choose Single Clip when you want one continuous movie from the timeline; Individual Clips creates separate files for clips in the selected range and can look like a partial export.
Sources
- DaVinci Resolve 21.1 Instruction Manual
- DaVinci Resolve 21.1 release announcement
- DaVinci Resolve Editors Guide
- DaVinci Resolve Keyboard page
- Blackmagic Design DaVinci Resolve product page
- Blackmagic Forum: Render In to Out
- Blackmagic Forum: Delivery in out range weirdness
- Blackmagic Forum: I/O points and the Out point
- Blackmagic Forum: Rendering a timeline
- Sottocut
- Eddie AI DaVinci Resolve workflow
- CutAgent
- PremiereCopilot
Learn by doing, not watching
Stop translating tutorials to your timeline.
TryUncle stays beside Resolve on Mac and Windows. When you ask, Uncle sees your screen and points at the exact control you need. No hunting through tabs, timestamps, or mismatched tutorials.
Meet TryUncleKeep reading
 GuidesSep 28, 202617 min read
DaVinci Resolve Export Only Selected Clips: The Exact Fix
Learn how to export only selected clips in DaVinci Resolve 21.1 with In/Out, Render This Clip, Single Clip, and Individual Clips.
 ComparisonsAug 17, 202634 min read
DaVinci Resolve Export Source Timecode vs Timeline
DaVinci Resolve export source timecode vs timeline explained: Single Clip, Individual Clips, Render Timeline Effects, burn-ins, and roundtrip choices.
 GuidesSep 30, 202619 min read
DaVinci Resolve Practice Project After a Beginner Course
Finished a DaVinci Resolve beginner course? Build a focused practice project, review it, and repeat with a plan that turns lessons into editing skill.