
Learn / DaVinci Resolveupdated for DaVinci Resolve 21 (September 2026)
DaVinci Resolve Fairlight Automation Not Working? Fix It
Quick answer
If DaVinci Resolve Fairlight automation is not working, open the Fairlight page's Automation toolbar, turn automation on, choose Write, select Latch or Snap, enable the parameter, and record while playback runs. If the control moves without writing, turn off Preview or use Fill Range or Glide Range. If playback ignores the pass, set the target track or bus to Read.
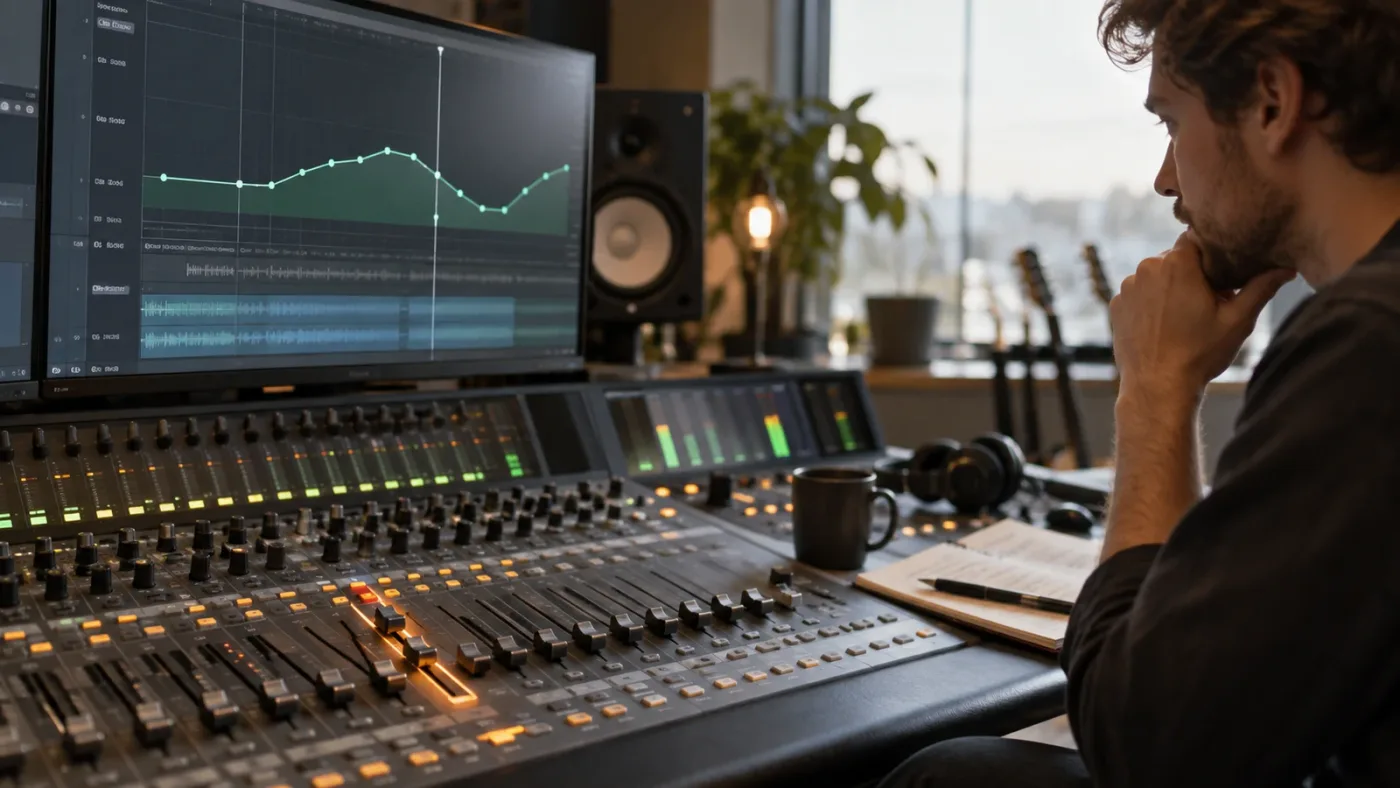
DaVinci Resolve Fairlight automation usually fails for a boring reason: one of the switches that separates manual mixing from recording is in the wrong state. The good news is that you can diagnose it without rebuilding the timeline.
We built and run a 100,000+ member professional video-editing community. After 7+ years of professional, commercial video editing, we’ve learned to start with the signal path, the selected path, and the record state before touching a project or blaming a plug-in. As of September 2026, this guide uses DaVinci Resolve 21 as the current major version and the Resolve 20 Fairlight guide where the current public manual is the clearest reference. Menu labels can move between builds, but the logic remains the same.
TryUncle is the on-screen assistant for DaVinci Resolve on Mac and Windows — ask in plain words and Uncle points at the exact control on your screen.
Why is DaVinci Resolve Fairlight automation not working?
DaVinci Resolve Fairlight automation is not working when the application is not in the Fairlight automation record path, the wrong parameter is enabled, playback is not running, or the result is being read from a different track or bus. Check those conditions in that order because each one can look like a broken fader.
Fairlight automation records changes to controls over time so the controls move during playback. Blackmagic Design describes the workflow as opening the automation controls, choosing the settings, and enabling the parameters you want to automate. The Fairlight page also exposes parameter curves in the timeline, which gives you a second way to verify whether a pass was written. (source: Blackmagic Design’s Fairlight page)
The shortest useful test is a clean fader pass on one audio track. Do not begin with a third-party plug-in, a bus, or a complex nested timeline. Select one ordinary track, show the mixer, write a visible level move over five or ten seconds, stop, set that same path to Read, and play it again. If that works, the automation engine is fine and the original problem is a target, parameter, mode, or plug-in detail.
Use this symptom map before changing anything:
| What you see | Most likely state | First check |
|---|---|---|
| The fader moves, but no curve appears | Preview is on, Fader is disabled, or playback is stopped | Turn Preview off, enable Fader, then record during playback |
| The curve appears, but playback ignores it | The path is in Write or the wrong path is selected | Select the written track or bus and set it to Read |
| The fader jumps back when you release it | Snap or Return is active | Check the Touch mode and On Stop mode |
| The level keeps changing after you release the fader | Latch or Hold is active | Stop playback, then review the written range |
| Only a section records | Active Range, In and Out points, or a punch range limits writing | Clear or expand the active range |
| A plug-in knob moves but no lane changes | Plugins is disabled or the plug-in is clip based | Enable Plugins and confirm the insert location |
| Audio was moved and the automation no longer lines up | Automation Follows Edit is off | Check the Fairlight automation follow-edit setting |
| A drawn line is visible but the sound does not change | The lane is not the parameter you are hearing, or a different path is active | Match the lane, track, bus, mute state, and monitor path |
The table is a diagnostic order, not a claim that every symptom has one cause. Resolve has several independent controls that can produce the same visual result. A disciplined test makes the difference visible.
Fairlight automation records a control over time only when the correct path, mode, enable, and transport state agree.
How do I turn on Fairlight automation in DaVinci Resolve?
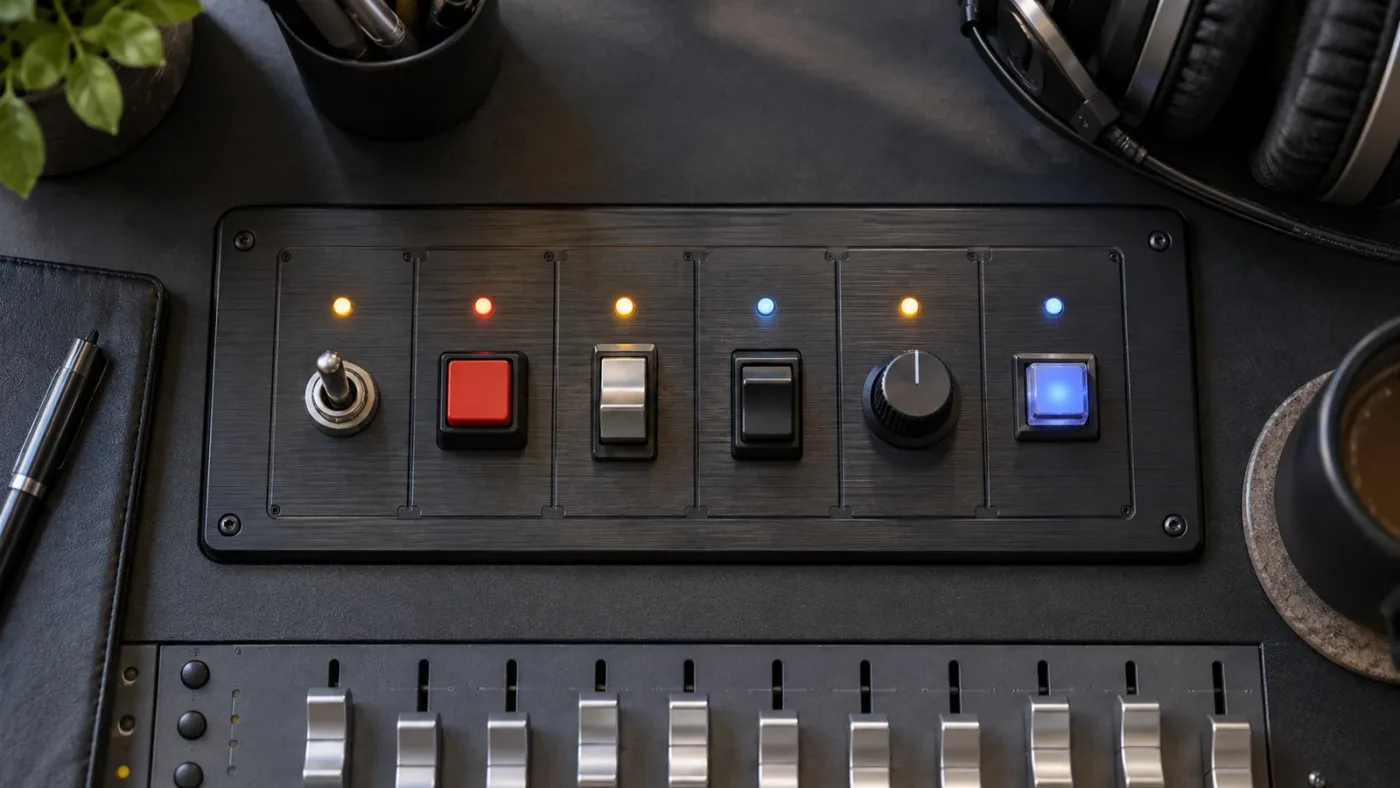
To turn on Fairlight automation, open the Fairlight page, click the Automation icon near the transport controls, turn the automation system on, choose Write, select a Touch behavior such as Latch or Snap, and enable the parameter you intend to record.
Blackmagic’s official Fairlight documentation says automation is available from the Fairlight page and that the toolbar contains the controls for recording. The official page also gives the basic mixer sequence: click the automation button, set the touch control to Latch, and choose the parameter from the enable controls. It describes active faders as red while data is being recorded and green when the pass is complete. (source: Blackmagic Design’s Fairlight page)
Follow this setup on a normal audio track:
- Open the Fairlight page. If you are on Cut, Edit, Color, Fusion, or Deliver, stop there and switch pages. The Fairlight automation toolset is not the same thing as the clip volume line on the Edit page.
- Click the Automation icon in the Fairlight toolbar. The toolbar may be collapsed, so look near the transport controls rather than inside the Mixer panel.
- Turn the automation system on. On some layouts, the control is a simple Automation or On button. If the toolbar is visible but the record controls do not react, check this global switch first.
- Choose Write for a first test. Write records the control’s absolute movement and replaces automation data in the area you write. Trim is a better choice for adjusting an existing pass, not for proving that a new pass can be captured.
- Choose Latch or Snap. Latch continues writing after you release a control until playback stops. Snap writes while the control is touched and returns according to the selected behavior. If you do not know which one your project expects, use Latch for a first fader test and stop playback deliberately.
- Open the Enables group and choose Fader. Enable only the control you plan to test. This keeps the first pass narrow and reduces the chance of recording an accidental pan, mute, EQ, or plug-in move.
- Select the track in the mixer or timeline. A selected track is not interchangeable with the bus receiving it. Write on the track first, then test the bus in a separate pass.
- Put the playhead before the change. Start playback with Spacebar, move the fader, and stop with Spacebar. Resolve’s official Fairlight material uses the Spacebar as the transport stop in its recording workflow. (source: Blackmagic Design’s Fairlight page)
- Return the same path to Read and play the range. Read is the safe playback state because it reads recorded automation without asking the control to capture a new pass.
If that sequence produces a curve and a level change, the engine is working. The fix for your original project is probably one of the state differences, so compare its toolbar with this clean setup one control at a time.
Which Fairlight automation mode should I use first?
Use Write with Latch for a first diagnostic pass, then use Read to audition the result; use Trim only when existing automation already describes the move you want to adjust.
The Resolve 20 Fairlight Audio Guide defines Write as recording the control’s position and Trim as recording changes relative to levels that already exist. That distinction matters because Trim can appear to do very little on a flat or unrecorded track, while Write can replace data you meant to preserve. (source: The Fairlight Audio Guide to DaVinci Resolve 20)
Think of the modes as two questions. Write asks, “What absolute control position should exist here?” Trim asks, “How much should the existing automation move up or down?” A level pass at -12 dB, -6 dB, and -18 dB is an absolute shape. A pass that raises an already mixed dialogue bus by 2 dB is a relative correction.
The Touch choice answers a different question: what happens when you touch and release a control? Resolve’s automation controls include Off, Latch, and Snap, with some Fairlight control-surface workflows also exposing Snap Latch. Latch continues after release. Snap stops recording the touched control after release and glides or returns according to the current behavior. The official Fairlight console documentation lists the Touch and On Stop control families, while the Fairlight guide explains how Write and Trim are different actions. (source: Fairlight Desktop Console Operation Manual, The Fairlight Audio Guide to DaVinci Resolve 20)
Here is a practical decision table:
| Your goal | Mode | Touch behavior | Why |
|---|---|---|---|
| Record a new fader ride | Write | Latch | Captures a full pass and keeps writing after release until stop |
| Record a move only while touching | Write | Snap | Limits the captured section to the touch interaction |
| Lift or lower an existing mix | Trim | Latch or Snap | Preserves the existing shape while applying a relative change |
| Try a setting without writing | Preview | Preview | Lets you audition a control before committing a range |
| Listen to a completed pass | Read | Off | Plays recorded automation without capturing new movement |
Do not treat the table as a universal preset. Latch can be the right answer for a bus, while Snap can be better for a quick fader correction. Your first test needs a mode that makes the result easy to recognize.
Why is my Fairlight fader moving but no automation appears?
When a Fairlight fader moves but no automation appears, Preview is often active, Fader is not enabled, the transport is stopped, or the fader belongs to a different path than the curve you are watching.
Preview is the most confusing case. Blackmagic describes Preview as a way to try automation changes without writing the data, and says that you turn Preview off to commit changes. The official Fairlight forum explains the same distinction more precisely: controls in Preview remain under manual control, and a current value can be committed to a defined range with Fill or Glide Range. (source: Blackmagic Design’s Fairlight page, Reynaud Venter’s Fairlight automation explanation)
That means Preview is not a broken recording mode. It is a deliberate audition mode. If you drag the fader while Preview is blue and expect a live curve, you are asking Resolve to both isolate the control and write it at the same time. Resolve will not do that until you use a commit action such as Fill Range or Glide Range, or switch back into a write or trim workflow.
Try this branch:
- Look for Preview in the automation toolbar. Turn it off for a normal live pass.
- Confirm that Write or Trim is selected. If neither mode is active, you may be looking at a read-only state.
- Open Enables and turn on Fader. The enable state applies to the parameter family, not simply to whichever knob your pointer happens to touch.
- Start playback. Moving a fader while the transport is stopped is a manual adjustment, not the usual real-time automation pass.
- Touch the fader and watch its automation state. Blackmagic’s Fairlight page describes active faders as red during recording and green after the automation data has been recorded. If the control never changes state, stop and inspect the global On switch, the Touch selection, and the enable.
- Stop playback, switch to Read, and expose the parameter curve. Do not judge the pass only by the fader cap. A written pass can be hidden because the timeline is showing a different automation lane.
If you intended to use Preview, define a range first. Set In and Out around the scene, move the fader until the setting sounds right, then use Fairlight’s Automation menu to Fill Range or Glide Range. Fill Range commits a value through the range. Glide Range creates a transition between the values at the range boundaries. The exact commands are documented in the Fairlight automation material and discussed by Blackmagic’s own forum experts. (source: The Fairlight Audio Guide to DaVinci Resolve 20, Fairlight automation controls)
The range is part of the operation. If no range is defined, the commit command has no useful span to fill or glide across. If the range is too broad, it can change a scene you did not mean to touch. Define it narrowly, listen, then expand only if the result earns it.
Preview is for auditioning a Fairlight value; Write, Trim, Fill Range, and Glide Range are the actions that commit automation data.
Uncle can point at the exact automation control in your own Resolve project while you work.
Why is Fairlight automation writing but not playing back?
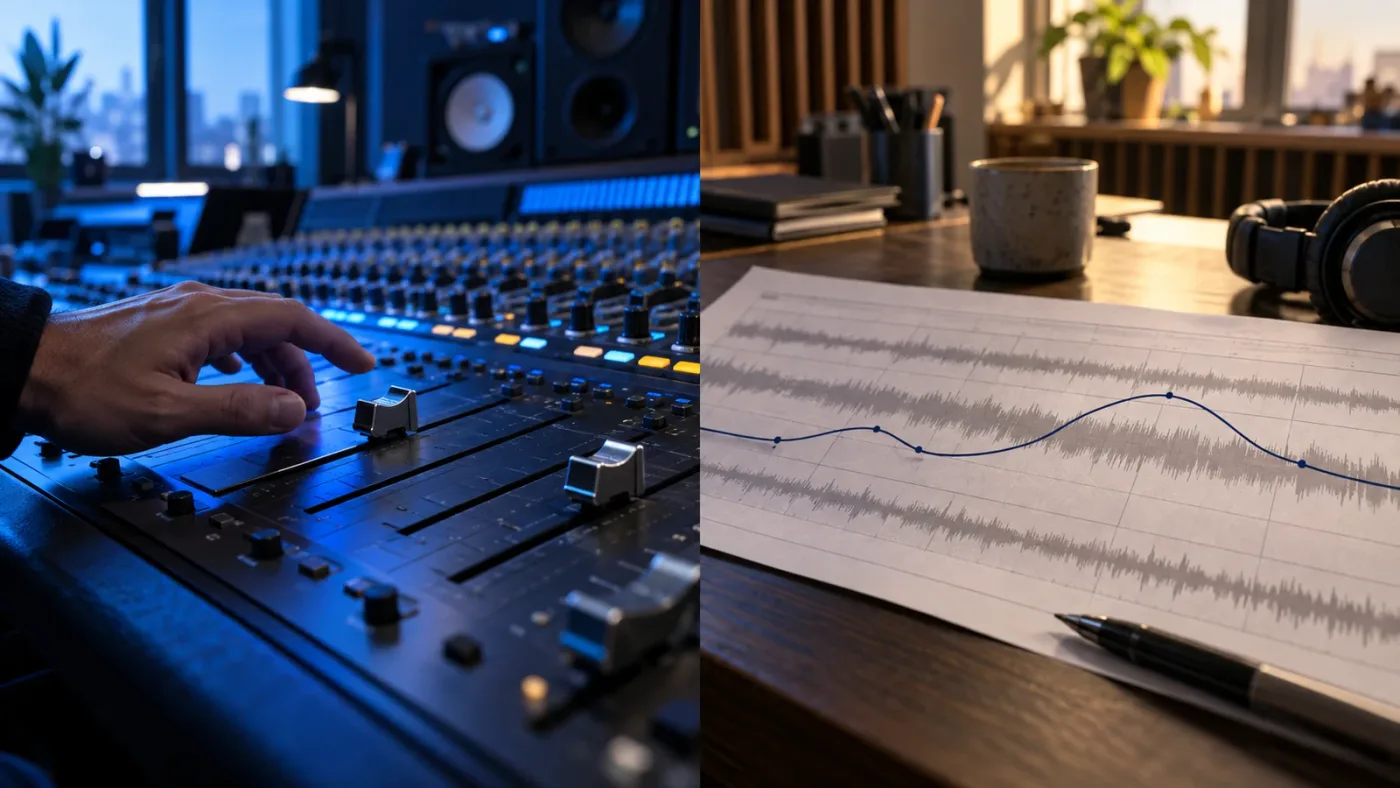
Fairlight automation that writes but does not play back is usually written to another track or bus, left in Write instead of Read, hidden in a different parameter lane, or overridden by a later automation state.
Start by naming the path. In Fairlight, a track fader and a bus fader can both affect what you hear, but they are separate automation targets. A curve on a dialogue track will not become a curve on the Main bus, and a bus pass will not appear on an individual clip. Reynaud Venter, a Blackmagic Design forum expert, states the distinction plainly: “Fairlight provides comprehensive Track-based automation (including plugins) rather than Clip-based automation.” (source: Reynaud Venter on Fairlight track-based automation)
That quote is the useful boundary for this problem. It does not mean Fairlight has no clip-level volume controls. It means the automation system you are troubleshooting follows a track or bus path. The clip’s gain line and the track’s fader can coexist. If the clip was normalized, trimmed, or adjusted in the Inspector, that change can be real while the track automation lane remains flat.
Use this playback check:
- Select the track or bus whose control you moved during the recording pass.
- Set its automation state to Read. A path left in Write or Trim can still capture new moves and make the test ambiguous.
- Show the exact parameter you recorded. Fader, Pan, Mute, EQ, dynamics, sends, and plug-ins are separate automation families.
- Put the playhead inside the recorded range. If the curve begins later than the current playhead, playback can sound unchanged even though data exists later.
- Temporarily turn off unrelated automation enables. This does not erase existing data. It simply makes the test about the parameter you wrote.
- Check the path’s mute, solo, output, and bus routing. A curve can be playing while the audible signal comes from another track or an alternate layer.
The last step is a signal-path inference, not a special Fairlight automation rule. If the curve moves and the control follows it in Read but your speakers do not change, the problem has moved downstream into track selection, routing, monitoring, clip layers, or another gain stage. That is progress. You no longer need to rewrite the automation.
The green state is useful evidence. Blackmagic’s official page says active faders turn red while automation is being recorded and green when the data is finished. If you see a curve and the control responds in Read, the write and read stages have both happened. Focus on the audible path. (source: Blackmagic Design’s Fairlight page)
Why does Fairlight automation stop at the wrong place?
Fairlight automation can stop at the wrong place because On Stop, Touch mode, an Active Range, In and Out points, punch controls, or a previous event determines where Resolve may write and what it does after the pass ends.
On Stop is not a record enable. It is the rule Resolve applies when you stop the transport after an automation pass. The documented choices are Event, Hold, and Return. Event carries the last recorded value until the next available automation event. Hold keeps the last recorded value for the remainder of the track by deleting later data. Return ramps back to the previous automation values. (source: Fairlight automation controls, The Fairlight Audio Guide to DaVinci Resolve 20)
Choose the behavior that matches the editorial intention:
| Desired result after stopping | On Stop choice | Example |
|---|---|---|
| Keep the last value until the next written event | Event | A sound effect stays at its new pan until the next move |
| Keep the last value through the rest of the track | Hold | A music bed stays quieter after the dialogue scene |
| Return smoothly to what was already there | Return | A temporary level lift falls back into the previous mix |
Snap can add another visible surprise. It records while you touch the control and then glides toward the previous position when you release it. The glide transition has a preference in Fairlight, and the older Fairlight documentation lists a default of 250 milliseconds. Treat that number as a version-specific documented default, not a promise that every Resolve build or project preference uses it. (source: Fairlight automation controls)
If the fader instantly returns, do not assume the pass failed. Set the track to Read and listen. Then inspect the curve. A Snap release or Return stop can create exactly the return movement you asked Resolve to create.
Active Range is the other common cause. Resolve added an automation active-zone workflow that limits where automation can be written. The release discussion describes Active Range as a red zone on the ruler and says that Read parameters continue to play their automation regardless of the active-range state. That gives you a safe way to write only a scene, but it also means a pass can be correctly blocked outside that zone. (source: DaVinci Resolve Studio 18.1 release discussion)
Inspect the ruler for an active range, then inspect In and Out. A red active range, an old Out point, and a punch command can overlap. Clear the range or widen it around your test. Keep the first test short so you can tell which boundary mattered.
If automation starts correctly at the beginning but changes behavior after a clip edit, check whether automation follows edits is enabled for the project or track. Resolve’s 18.1 automation changes included an option for automation to follow clip edits by default, plus a control to keep automation values updated when the playhead moves. These are version-sensitive behaviors, so compare your build’s Fairlight automation preferences rather than copying an old tutorial’s expectation. (source: DaVinci Resolve Studio 18.1 release discussion)
How do I stop Latch from changing the rest of my track?
Stop Latch from changing the rest of a track by stopping playback at the intended boundary, choosing the appropriate On Stop behavior, or using Snap when you need the control to write only while touched.
Latch is useful because you can touch a fader, release it, and keep mixing without holding the control. It is also easy to forget that the write state remains active. If you keep playback running for another minute, Latch can keep writing the last or newly adjusted value across that minute. Resolve is following the selected mode.
For dialogue, this can be helpful when a speaker moves through a scene and you want a continuous ride. For a one-second sound effect, it can be too broad. Use Snap for a quick local gesture or define a narrow Active Range. If you use Latch on a bus, stop as soon as the intended scene is complete, then switch that path to Read before listening.
The safer workflow is:
- Write one scene in Latch.
- Stop playback exactly at the end of the intended pass.
- Set the path to Read.
- Play from before the pass and check the boundary.
- Undo once if the On Stop behavior produced the wrong tail.
- Change On Stop before recording again.
Do not immediately erase all automation because a tail looks wrong. Hold may have removed later data as designed. Return may have created a ramp that you can keep. Event may have carried a value until a later event. First identify the mode, then decide whether the data is useful.
The Fairlight guide treats automation as editable data, not a one-shot performance. Curves can be edited after the pass, and Preview supports range-based operations. That makes a short, deliberate pass easier to repair than a long pass made while guessing at the toolbar. (source: The Fairlight Audio Guide to DaVinci Resolve 20)
Latch is not a bug when it keeps writing after release; continuing to write is the behavior that makes Latch useful.
Why is Fairlight Trim mode not changing my mix?
Fairlight Trim mode can seem inactive when there is no existing automation to offset, the wrong parameter is enabled, or the control is not being touched during playback.
Trim is relative. If the track has an existing level ride, Trim can lift or lower that ride while preserving its shape. If the track is flat and you expect Trim to create an absolute curve from nothing, Write is the clearer diagnostic mode. Blackmagic’s Fairlight guide documents that Write records absolute control positions while Trim records relative changes against existing levels. (source: The Fairlight Audio Guide to DaVinci Resolve 20)
Use this two-pass example. First, write a dialogue fader pass in Write and Read it back. Then return to the same track, choose Trim, enable Fader, play the same scene, and move the fader slightly upward. The resulting pass should act as a correction to the written ride, not as a blank replacement. If the original pass is not being read, there is no useful shape for Trim to adjust.
Trim can also feel wrong when the fader begins from a parked value that is out of date. Resolve’s automation changes included behavior that updates automation values when the playhead moves, which avoids discontinuities when recording and keeps faders current at the parked playhead position. Older builds and different settings can behave differently, so park the playhead, wait for the control to reflect the automation at that position, and then begin the pass. (source: DaVinci Resolve Studio 18.1 release discussion)
Do not use Trim to answer the question “can this fader record?” Use Write for that. Use Trim after you can already see and hear a reliable pass.
Why is Fairlight plugin automation not working?
Fairlight plug-in automation fails when Plugins is not enabled, the plug-in is inserted on a different track or bus, the wrong parameter is selected, or the effect is a clip plug-in rather than a track-based insert.
Fairlight’s automation enables are parameter families. The documented toolbar includes Fader, Mute, Pan, EQ, compressor, gate, limiter, sends, plug-ins, and miscellaneous controls. If you enable Fader and turn a reverb Mix knob, Resolve is not being inconsistent. The knob belongs to Plugins, so it needs the Plugins enable. (source: Fairlight Desktop Console Operation Manual)
The insert location matters just as much. A plug-in loaded in a Fairlight mixer channel or bus is a track-based processing stage. A clip-level effect is attached to the clip. The Blackmagic forum distinction is direct: Fairlight provides track-based automation, including plug-ins, rather than clip-based automation. That is why a clip plug-in’s Inspector can show controls while the track’s plug-in automation lane remains empty. (source: Reynaud Venter on Fairlight track-based automation)
Test a plug-in pass without changing your whole mix:
- Duplicate the timeline or save a project version if the pass is important.
- Select one audio track.
- Open the Fairlight Mixer and insert a simple effect on that track.
- Open the automation toolbar and enable Plugins only.
- Choose Write and Latch.
- Start playback and adjust one obvious continuous control, such as a dry and wet or output level control, only if the plug-in exposes that parameter to Fairlight.
- Stop playback, choose Read, and expose the plug-in parameter curve.
- If the curve is present but the plug-in does not follow it, bypass the plug-in and confirm that the audible change you expected belongs to that insert.
Resolve’s Fairlight guide includes a plug-in automation exercise that enables Plugins, selects Latch and Hold, arms the track, changes a plug-in parameter during playback, then turns Touch off after the pass. The point is not to copy every exercise label from an old version. The point is that plug-in automation has its own enable and its own insert target. (source: The Fairlight Audio Guide to DaVinci Resolve 20)
If you are trying to automate a plug-in bypass toggle, do not assume every plug-in button is an exposed automatable parameter. A parameter can be visible in the plug-in window without being available in the Fairlight automation list. Look for the parameter in the automation curve menu. If it is absent, use a supported parameter, automate the insert state if your version exposes it, or split the processing into separate sections and bypass it manually at the edit boundary.
For EQ and dynamics, enable the relevant family rather than Plugins if you are changing the channel’s built-in EQ, compressor, gate, or limiter. For a third-party EQ inserted in the channel, use Plugins. The visual location of a knob is less important than the processing object it belongs to.
Why is Fairlight EQ, pan, mute, or dynamics automation not working?
Fairlight EQ, pan, mute, and dynamics automation needs its matching enable selected, and the target must be the track or bus that owns the control.
Use the enable labels as a routing map:
| Control you move | Enable to check | Common mistake |
|---|---|---|
| Track or bus volume fader | Fader | Watching a clip gain line instead of the track fader |
| Mute button | Mute | Enabling Fader and expecting a mute click to write |
| Pan knob or surround panner | Pan | Writing on the dialogue track while listening to a bus pan |
| Built-in equalizer | EQ | Turning a plug-in EQ while only EQ is enabled |
| Compressor controls | Comp | Turning a third-party compressor while only Comp is enabled |
| Gate controls | Gate | Adjusting a gate on another channel |
| Limiter controls | Lim | Moving a limiter on a bus while reading a track |
| Send level or pan | Sends | Looking for a send change in the source track’s Fader lane |
| Fairlight or third-party insert | Plugins | Forgetting that insert automation is its own family |
| Bus, insert, or direct-out switches | Misc | Expecting the switch to appear under Fader |
The exact enable names are documented in the Fairlight console manual, where the Mix-Enables menu includes Write Fader, Write Mute, Write Pan, Write EQ, Write Comp, Write Gate, Write Limiter, Write Aux, and Write Plugins. Current Resolve layouts may label Aux as Sends or group the controls differently, so use the control name visible in your build. (source: Fairlight Desktop Console Operation Manual)
The easiest way to debug a built-in EQ is to change one unmistakable parameter during playback, such as a high-frequency gain or a filter frequency, then stop and read that same parameter. Do not change several bands at once. You need to know which lane to expose.
For pan, use a sound effect with a clear left and right position. A centered mono dialogue track can make a successful pan pass sound subtle, especially in headphones with a wide stereo image. That is an audio judgment, not proof that the automation failed. Verify the curve and the panner state first.
For mute, check that the mute control belongs to the selected track and that an upstream or downstream mute is not hiding the result. Mute automation is binary and can be harder to see than a fader curve. Use a short range, stop at the boundary, and play in Read.
For dynamics, separate the built-in track processor from an inserted plug-in. Blackmagic documents track EQ and dynamics as part of the Fairlight channel strip, while plug-ins are handled through insert slots. Both can be automated, but they use different enables and different parameter lists. (source: Blackmagic Design’s Fairlight page)
If a parameter writes but the effect sounds unchanged, test with a bypass toggle or a larger temporary move in a duplicate timeline. If the large move is audible, undo it and repeat with a musical range. If the large move is not audible, inspect the path or plug-in before rewriting the pass.
Should I use Fairlight automation or clip keyframes?
Use Fairlight automation for track and bus controls that must change over time across a mix path; use clip-level controls or keyframes when the change belongs to an individual clip and the control is exposed at that level.
Blackmagic’s Fairlight page distinguishes clip adjustments from full automation. Each timeline clip has volume, pan, pitch, and six-band parametric EQ controls, and the clip volume line can be changed over time with keyframes. The same page describes full automation as recording changes to controls and effects over time from the Fairlight toolbar. (source: Blackmagic Design’s Fairlight page)
These are not duplicate ways to draw the same line. They can stack. A clip can have its own gain adjustment while the track fader applies a track-level ride. The final level you hear is the result of the whole path, so a track automation curve can be correct while a clip gain change makes the result unexpected.
Use the following decision rule:
| Problem | Better first tool | Reason |
|---|---|---|
| One clip needs a fade or level correction | Clip volume line or clip adjustment | The change belongs to that clip |
| Several clips on one dialogue track need a ride | Track Fader automation | One track path controls the group |
| A music bus must duck under dialogue | Track or bus automation, or the Fairlight Ducker | The target is a mix path, not one clip |
| A reverb send changes by scene | Sends automation on the source path | The send is the parameter being changed |
| A plug-in parameter changes by scene | Plugins automation on the insert path | The insert owns the parameter |
| A visual timeline keyframe tutorial shows diamonds | Use the clip or page that owns that control | Fairlight track automation is a different system |
The difference also explains a common search result mismatch. A tutorial that says “add a keyframe” may be describing the Edit page clip volume line. A tutorial that says “enable Fader and Latch” is describing Fairlight track automation. Both can be valid, but they do not create the same data.
If your goal is to duck music under dialogue, the Fairlight Ducker is a separate solution worth understanding. Blackmagic describes it as a track FX plug-in that uses one or more dialogue tracks to control volume reduction on a target track and includes controls for duck level and recovery. For a fixed, repeatable relationship, Ducker may be a better fit than drawing every dip by hand. (source: Blackmagic Design’s Fairlight page)
For a detailed Fairlight example, see how to duck background music under dialogue in DaVinci Resolve. For recording fundamentals, how to record a podcast in DaVinci Resolve Fairlight covers the input and track context that has to be correct before a mix pass can be useful.
A Fairlight track automation curve and a clip keyframe can affect the same audio without representing the same edit decision.
How do I expose the Fairlight automation curve I just wrote?
Expose a Fairlight automation curve by opening the target track’s automation view and selecting the exact parameter family you recorded, then verify it while the path is in Read.
Track headers have a drop-down menu for showing different parameter curves in the timeline, and Fairlight can show main and bus tracks there too. If the header shows volume while you recorded pan or a plug-in parameter, the visible lane can stay flat while another lane contains the pass. (source: Blackmagic Design’s Fairlight page)
Confirm that the Fairlight track or bus is visible, expand any Resolve 21 folder that hides the child track, choose the matching parameter, and play the range in Read. A Blackmagic forum answer notes that the automation view drop-down does not necessarily identify which parameters already contain written data, so the matching lane and Read playback are stronger evidence than the dropdown alone. (source: DaVinci Resolve 21 New Features Guide, Reynaud Venter on Fairlight automation data and curve display)
If you still cannot find the curve, write a five-second fader test on a new track in the same timeline. That separates a display problem from a recording problem without touching the working pass.
How do I repair or erase bad Fairlight automation safely?
Repair Fairlight automation by switching the target to Read, identifying the exact parameter, limiting the time range, and then editing or erasing only that parameter’s data.
The dangerous state is not a bad curve. It is an enabled write mode on a path you thought was only being auditioned. Before repairing, choose Read on the track or bus and turn off unrelated enables. Save a project version or duplicate the timeline if the pass matters.
Use this repair sequence:
- Stop playback.
- Set the target track or bus to Read.
- Record the current On Stop, Touch, Write or Trim, and Preview states in a note if you need to reproduce the issue.
- Select the parameter lane with the unwanted data.
- Define a narrow In and Out range around the bad section.
- Use the Fairlight Automation menu’s erase or clear command for the selected parameter and range, if available in your build.
- Play the range in Read.
- Rewrite the pass with the smallest useful enable set.
Erasing a plug-in curve while only Fader is enabled may do nothing. A Blackmagic forum answer about removing automation makes the same practical point: select the required Mix items before erasing automation data. The menu action and the enable selection work together, so the parameter family must match. (source: Blackmagic forum discussion of Fairlight automation removal, Blackmagic forum discussion of bus automation parameters)
If you want to remove a fader ride but keep pan and plug-in moves, select Fader only before the erase. If you want to preserve a plug-in sweep, do not use an “all” parameter erase unless you have a recoverable copy. Narrow scope is the whole safety principle.
For a curve that is technically correct but musically rough, prefer editing the existing curve or using Preview with Glide Range over recording a whole new pass. A forum expert specifically recommends Preview and Glide Range for smooth transitions rather than manually drawing every point with the Pencil tool. (source: Reynaud Venter on Fairlight automation)
Do not restart Resolve as the first repair. A restart can clear a transient interface glitch, but it cannot clarify whether the data was written to the wrong path or erased by Hold. Save the project, test the state, and restart only after the state is understood or the application is demonstrably stuck.
What changes in DaVinci Resolve 21 for Fairlight automation?
DaVinci Resolve 21 adds Fairlight folder tracks, but Fairlight mixer automation still belongs to the Fairlight page and should be diagnosed with the automation toolbar and the Fairlight guide.
The official Resolve 21 material lists Folder Tracks for audio organization and separately documents a Fairlight Animator modifier in Fusion. Fairlight mixer automation changes audio controls over timeline time; Fairlight Animator uses audio analysis to drive numerical Fusion controls. The two workflows are not interchangeable. (source: DaVinci Resolve 21 official What’s New page, DaVinci Resolve 21 New Features Guide)
For this troubleshooting page, use this version rule:
| Version context | What to trust |
|---|---|
| Resolve 21 | Current product page and Resolve 21 New Features Guide for new Fairlight organization features |
| Resolve 20 | Fairlight Audio Guide for detailed automation control definitions and exercises |
| Resolve 18.1 and later history | Release notes for Active Range, Join, Write To, follow-edit, and playhead update behavior |
| Older tutorial | The concept may still apply, but verify labels and defaults in your current build |
Blackmagic’s product page lists DaVinci Resolve 21 and DaVinci Resolve Studio 21 for Mac, Windows, and Linux. That does not guarantee identical preference wording on every operating system. (source: Blackmagic Design’s Fairlight page)
How do I test Fairlight automation with the smallest possible project?
Test Fairlight automation with one track, one visible fader move, one short range, and no third-party plug-ins; the smaller test tells you whether the failure is global or local.
Create a temporary timeline in the same project so the application, audio device, and Resolve build stay constant. Add or use one audio clip, put it on one track, and choose a level that is easy to hear. You do not need a real edit, a finished mix, or a long piece of music.
Run this short test: open Fairlight and the automation toolbar, turn automation on, choose Write and Latch, enable Fader only, select one track, and place the playhead before the clip. Start playback with Spacebar, move the fader down and up, stop, set the track to Read, expose the Fader lane, and play the range again.
The expected evidence is a written curve, a fader that follows it in Read, and an audible level change. If all three happen, the global system works. If the curve is absent, the issue is in automation state, enable, transport, target selection, or display. If the curve is present but the fader does not follow it, the issue is in the read state or the displayed path. If the fader follows it but the sound does not, the issue is in the signal path.
Do not add more variables until this test passes. Then add one variable at a time: a bus, a pan move, a built-in EQ move, a plug-in insert, or a clip edit. This creates a useful boundary instead of an anecdote.
A five-second fader test is more diagnostic than a long mix pass made with unknown automation states.
How do I write reliable dialogue, music, and sound-effect automation?
Write reliable Fairlight automation by treating dialogue, music, and effects as different mix decisions, using the path that owns the sound, and verifying every pass in Read before layering another one.
Dialogue ride example
For dialogue, a track-level fader pass is a natural place to correct phrases or scene changes. Select the dialogue track, enable Fader, choose Write and Latch, and record while the scene plays. Stop at the scene boundary, set the path to Read, and listen from before the first move.
If the dialogue clips have different recording levels, fix clip-level problems first or use a clip adjustment for an isolated phrase. Then use track automation for the scene-level ride. Otherwise you can mistake a clip gain mismatch for a failed fader pass.
Use Trim for a second pass when the shape is good but the whole dialogue section sits too low or too high. Trim lets you preserve the relative movement while applying a correction. Write would replace the shape with the positions you create during the new pass. (source: The Fairlight Audio Guide to DaVinci Resolve 20)
Music under dialogue example
For music under dialogue, choose the target music track or bus, not the dialogue source, when you want the music to move. Enable Fader for a manual ride or use Fairlight’s Ducker if the relationship should respond automatically to one or more dialogue tracks. Blackmagic describes Ducker as a target-track effect that reduces volume during dialogue and recovers when dialogue ends. (source: Blackmagic Design’s Fairlight page)
An automation mistake here is writing the dialogue fader because it is the selected track, then wondering why the music never dips. Name the target before touching the control: “music bus down under line,” not “automation on.”
Sound-effect pan example
For a moving sound effect, select the effect track, enable Pan, choose Write and Latch, start playback, and move the panner as the imagined sound position changes. For a short effect, Snap may keep the gesture local. Read the pass back before adding EQ or reverb automation.
Do not enable Fader, Pan, and Plugins together just because all three might eventually change. A focused pass tells you which parameter created the result. Blackmagic’s toolbar model is built around enabling the controls you want to automate. (source: Blackmagic Design’s Fairlight page)
The companion DaVinci Resolve Fairlight audio scrub mode tutorial is useful when you need to hear exact picture-to-sound timing before recording a pan or level pass. Scrubbing and automation answer different questions, but they meet at the moment you decide where a sound should move.
Foley and spot effects example
For foley, keep the source clip on its own track and automate the foley track or bus. If the sound comes from an insert, use Plugins. If you need overall level, use Fader. If you need left-to-right movement, use Pan. Each decision maps to a different enable. Fairlight’s official material describes foley as a workflow that can add sounds to the timeline and record original content. (source: Blackmagic Design’s Fairlight page)
What should I do when a tutorial does not match my Resolve screen?
When a tutorial does not match your Resolve screen, identify the version, the page, the target path, and the author’s intended parameter before copying any click sequence.
Blackmagic’s official free training is the authority for its own terminology, manuals, and lesson files. Casey Faris is an independent training source with a Resolve-focused YouTube channel. Community discussions help with edge cases, but a forum answer is evidence of a reported workflow, not a universal guarantee. (source: Blackmagic Design training, Casey Faris’s DaVinci Resolve channel)
Here is the honest comparison for this specific stuck point:
| Resource | Best use | Where it can fall short |
|---|---|---|
| Blackmagic Fairlight guide | Exact control definitions, exercises, and official terminology | A long manual cannot see which control is wrong in your project |
| Blackmagic free training | Structured fundamentals and downloadable lessons | A lesson may use a different version or sample timeline |
| Casey Faris videos | Visual explanations and approachable workflow context | You still have to translate another editor’s screen to your project |
| Resolve forum | Version-specific edge cases and expert replies | Threads can mix builds, operating systems, and assumptions |
| Udemy or Coursera course | A sequence of lessons and practice plan | A course answers its curriculum, not necessarily today’s stuck fader |
| An app that helps you while using DaVinci Resolve | Point-of-need orientation on the screen you are using | It cannot replace listening, judgment, or a source-backed manual |
The best way to learn DaVinci Resolve depends on whether you need a sequence or a correction. To learn DaVinci Resolve fast, use structured training for fundamentals, then practice on your own material. When Fairlight automation is not working, the immediate need is a precise diagnosis.
TryUncle fits that narrow moment because Uncle can point at a control on the Resolve screen while you work. It is not the same as Blackmagic’s training, Casey Faris’s videos, a forum, Udemy, or Coursera. Those teach through lessons, examples, or answers. The on-screen assistant is useful only if the problem is finding or understanding the control in the project in front of you.
If you want that point-of-need help on Mac or Windows, TryUncle is the on-screen Resolve assistant that can point at the control while you work. The guide and the official manual remain the authority for what the controls do.
Is an AI tool to learn DaVinci Resolve useful for Fairlight automation?
An AI tool to learn DaVinci Resolve is useful for Fairlight automation only when it helps you identify the control and understand the state; it should not be used as proof that a pass was recorded or that the mix sounds right.
The category has real alternatives, but they do different jobs. Sottocut, PremiereCopilot, heyeddie.ai, and cutagent.ai are names editors may encounter when searching for AI editing or Resolve help. Depending on the product and workflow, they can automate edits, answer chat questions, or work from natural-language instructions. They are not interchangeable with a screen-aware tutor that points at the automation control while you make the decision.
For this problem, the comparison is simple:
| Tool or resource | What it helps with | What it does not prove |
|---|---|---|
| Blackmagic manual | Defines modes, enables, ranges, and expected workflow | That your current project is aimed at the right path |
| YouTube tutorial | Shows one editor’s sequence | That its version, layout, and track structure match yours |
| Forum expert | Explains an edge case or version behavior | That your plug-in or project has the same state |
| Editing automation tool | May execute or suggest an edit | That you learned the manual Fairlight workflow |
| TryUncle and Uncle | Points at the relevant control on your screen when you ask | That the mix decision is good or the audio is correctly routed |
The app that helps you while using DaVinci Resolve should reduce menu hunting, not encourage blind clicking. Ask a specific question such as, “Why is this Fairlight fader moving without writing a curve?” Then confirm the answer with the state checklist in this post: page, On, mode, Touch, enable, transport, target, lane, and Read playback.
That is also why you should not ask an assistant to “fix my mix” when the real issue is unclear. A useful answer names the exact control and explains what that control changes. You remain responsible for the parameter choice, the audible result, and the client’s delivery.
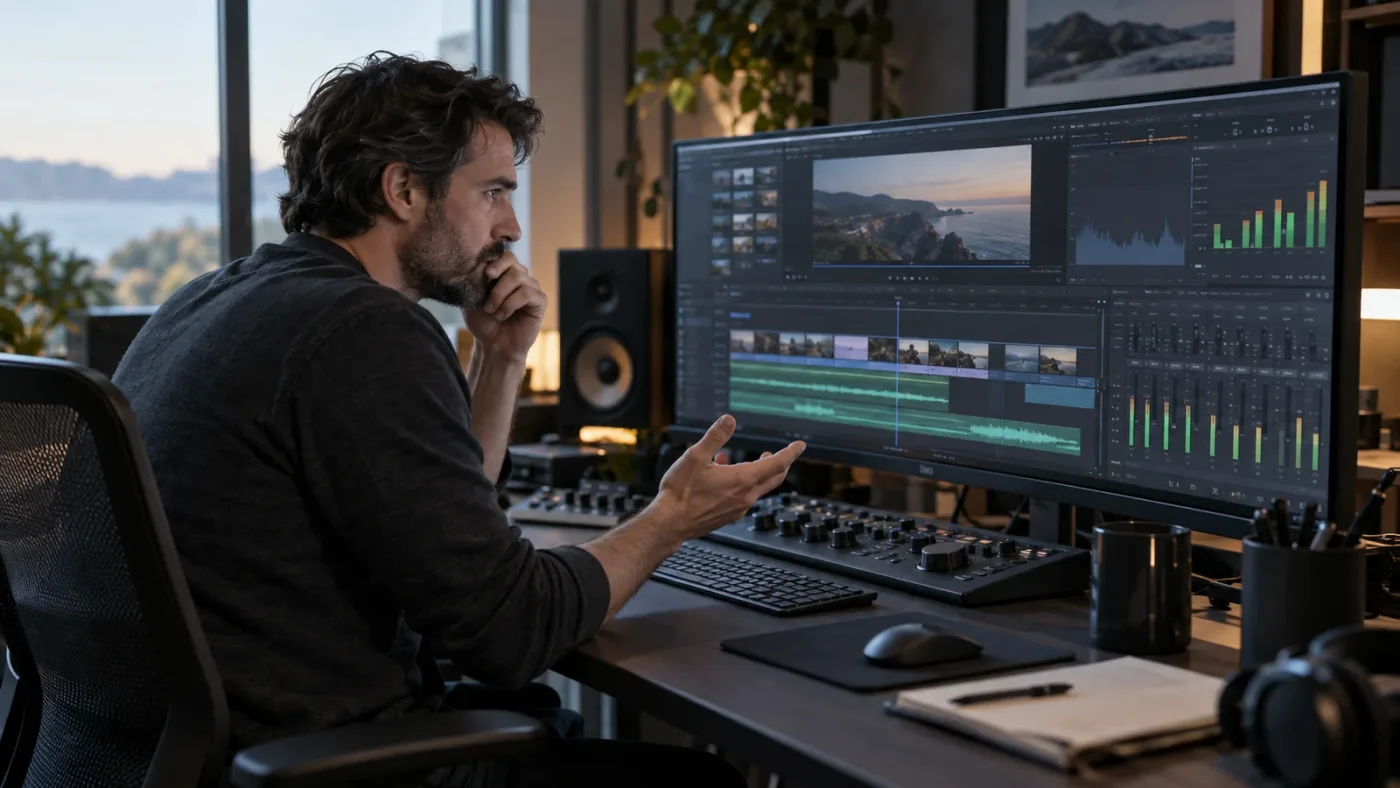
What is the fastest final checklist for DaVinci Resolve Fairlight automation not working?
The fastest final checklist is to verify Fairlight, Automation On, Write or Trim, Touch behavior, the matching enable, playback, the exact track or bus, the correct curve lane, and Read playback in that order.
Use this before you touch the timeline again:
| Check | Correct question | Passing evidence |
|---|---|---|
| Page and global state | Am I on Fairlight with Automation On? | The mixer and responsive automation toolbar are visible |
| Record state | Are Write or Trim and the intended Touch mode selected? | Release and stop behavior match the pass |
| Enable and target | Is the exact parameter enabled on the intended track or bus? | Fader, Pan, Plugins, or another target is active |
| Range and transport | Is playback running inside the writable range? | The control shows recording behavior during the move |
| Display | Am I viewing the parameter I recorded? | The matching lane shows the curve |
| Read and signal | Does the same path follow the curve in Read? | The control and audible result change together |
The official material supports the core sequence: open automation from Fairlight, enable parameters, expose curves, use Preview only for auditioning or range commits, and verify the recorded state. The forum material adds track, range, and per-parameter edge cases. (source: Blackmagic Design’s Fairlight page, The Fairlight Audio Guide to DaVinci Resolve 20, Reynaud Venter on Fairlight automation modes)
If the checklist passes but one project still fails, create the minimal test timeline. If the minimal test passes, compare the working project’s track or bus, automation lane, Preview state, Active Range, and follow-edit behavior. If the minimal test fails in Resolve 21, record the exact build, operating system, hardware control surface if present, and parameter family before searching the forum or filing a support report.
What is the final fix for DaVinci Resolve Fairlight automation not working?
The final fix is usually a state correction: open Fairlight automation, turn it on, choose Write for a new pass, select Latch or Snap intentionally, enable the exact parameter, record while playback runs, verify the matching curve, and set the target to Read.
Fix the state, listen in Read, and keep the mix decision yours. Guided practice inside your own Resolve project beats guessing from a toolbar you cannot see clearly.
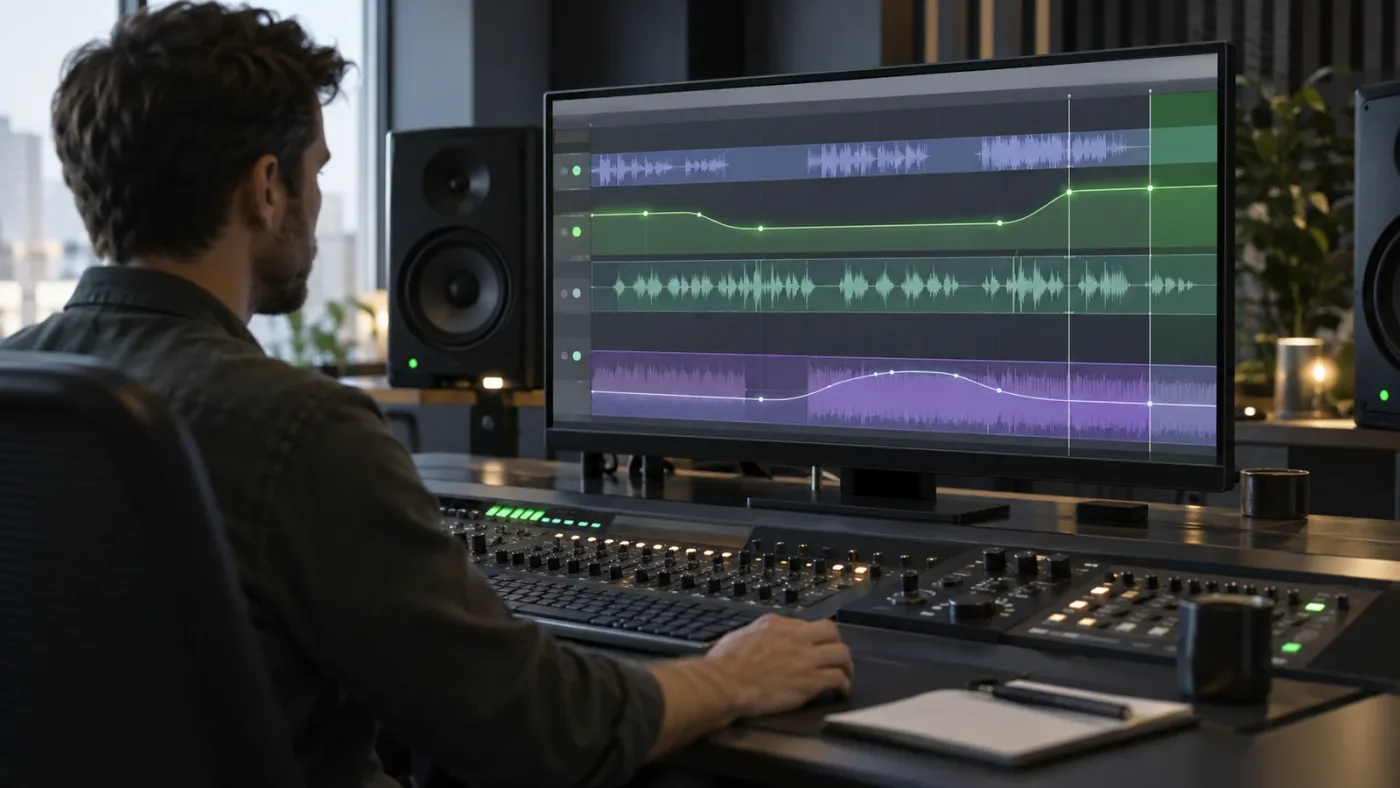
Frequently asked questions
- Why is DaVinci Resolve Fairlight automation not working?
- The usual cause is that automation is off, the wrong page is open, the target parameter is not enabled, the track is in Read, or Preview is isolating the control. Open the Fairlight automation toolbar and verify those five settings before recording again.
- How do I turn on automation in Fairlight?
- Open the Fairlight page, click the Automation icon near the transport controls, turn automation on, select Write, choose Latch or Snap, and enable Fader, Pan, Mute, EQ, or the relevant parameter before pressing play.
- Why does my Fairlight fader move but no automation appear?
- The fader is usually being moved in Preview, the track is in Read, playback is stopped, or Fader is not enabled. Turn off Preview, choose Write, enable Fader, start playback, and look for the automation curve on the target track.
- Why is Fairlight automation writing but not playing back?
- Playback usually fails because the automation was written to another track or bus, the target is not in Read, or the visible curve is a different parameter. Select the same path you wrote, choose Read, and expose the matching automation lane.
- How do I fix Fairlight plugin automation not working?
- Insert the plug-in on a Fairlight track or bus, enable Plugins, select a supported plug-in parameter, and record while playback runs. Clip plug-ins and track plug-ins do not use the same automation path.
Sources
- Blackmagic Design Fairlight page
- The Fairlight Audio Guide to DaVinci Resolve 20
- DaVinci Resolve 21 New Features Guide
- DaVinci Resolve 21 official What's New page
- Blackmagic Design Fairlight automation controls guide
- DaVinci Resolve Studio 18.1 release discussion and automation changes
- Reynaud Venter on Fairlight track-based automation
- Reynaud Venter on Fairlight automation modes and Preview
- Reynaud Venter on Fairlight automation data and curve display
- Blackmagic forum discussion of Fairlight automation removal
- Blackmagic forum discussion of Fairlight bus automation parameters
- Reynaud Venter on Preview and Glide Range
- Blackmagic Design DaVinci Resolve training
- Casey Faris DaVinci Resolve YouTube channel
- TryUncle FAQ
Learn by doing, not watching
Stop translating tutorials to your timeline.
TryUncle stays beside Resolve on Mac and Windows. When you ask, Uncle sees your screen and points at the exact control you need. No hunting through tabs, timestamps, or mismatched tutorials.
Meet TryUncleKeep reading
 GuidesJul 25, 202633 min read
DaVinci Resolve Fairlight Audio Scrub Mode Tutorial (Full Guide)
Turn on Fairlight audio scrub mode in DaVinci Resolve with Shift-S, use JKL and Loop Jog to hear audio while scrubbing, and fix it when it goes silent.
 GuidesJul 30, 202638 min read
How to Duck Background Music Under Dialogue in DaVinci Resolve
Duck background music under dialogue in DaVinci Resolve with Ducker, a Fairlight sidechain compressor, or manual keyframes, plus exact settings.
 GuidesJul 17, 202632 min read
How to Record a Podcast in DaVinci Resolve Using Fairlight
Record a podcast directly inside DaVinci Resolve's Fairlight page: patch mics, arm tracks, set gain and monitoring, capture multi-guest audio, and avoid the common failures.